Configuration for Home Assistant (MQTT Discovery)
Caution
There are many ongoing changes to the firmware. The setup of your device may be slightly different than what is described in this guide.
If you start fresh with Home Assistant some of the things you need to do to set it al up may seem daunting, but usually you get along with the basics pretty quickly.
The firmware of the Gateway was built with Home Assistant in mind. The Gateway will communicate with Home Assistant via MQTT.
As of firmware 2.1 the Gateway has native integration with Home Assistant via the MQTT Discovery protocol. EMS-ESP will create a device called EMS-ESP with the system information as well as individual HA devices for each of the EMS connected devices, for example ‘EMS-ESP Thermostat’. (You can also do it the hard way by manually editting (not recommended) YAML files.)
Note
If you have a Gateway Premium II or older it is strongly recommended to upgrade the ESP8266 to an ESP32. Especially the HA MQTT Discovery function puts the ESP8266 to its limit. Also by upgrading you get a lot of new features and added stability. See this page for more information.

Getting Home Assistant ready for the Gateway
For this guide I assume you don’t know much about Home Assistant but that you do already have it installed on your system. You can install f.i. HassIO on a Raspberry Pi, or install Home Assistant in a Docker container. Its up to you to decide. If you don’t have it installed yet please follow the Home Assistant getting started 2 instructions on the Home Assistant website.
MQTT
The Gateway communicates with Home Assistant via MQTT. For this to work you need to have a MQTT server (also called a broker) installed on your system. The recommended MQTT broker is Mosquitto. Please follow the guide Home Assistant running your own MQTT broker 3 to install it.
You can also install Mosquitto by adding it with one click from the Integrations list in Home Assistant.
Note
The latest version of a manually installed Mosquitto it needs additional configuration, otherwise it won’t accept a connection from outside like from the Gateway. See f.i.: Configuring Mosquitto 4
Setting the MQTT format
In the web interface of the Gateway go to MQTT and enable the checkmark for “Use Home Assistant MQTT Discovery”.
Note
If you have a Gateway Premium II or older you need to set the topic structure to ‘Home Assistant’. After you have set it, save the page. Then remove the entire Gateway from bus and power for 20 seconds and plug it back in. In case Home Assistant can’t discover some devices unplug the Gateway again. Restarting via the web interface is not enough, you need to remove the entire hardware from the power. The discovery function puts a heavy load on the ESP8266 inside the older Gateway models, therefore sometimes not all discovery topics are created on the first go.
Adding the devices into Home Assistant
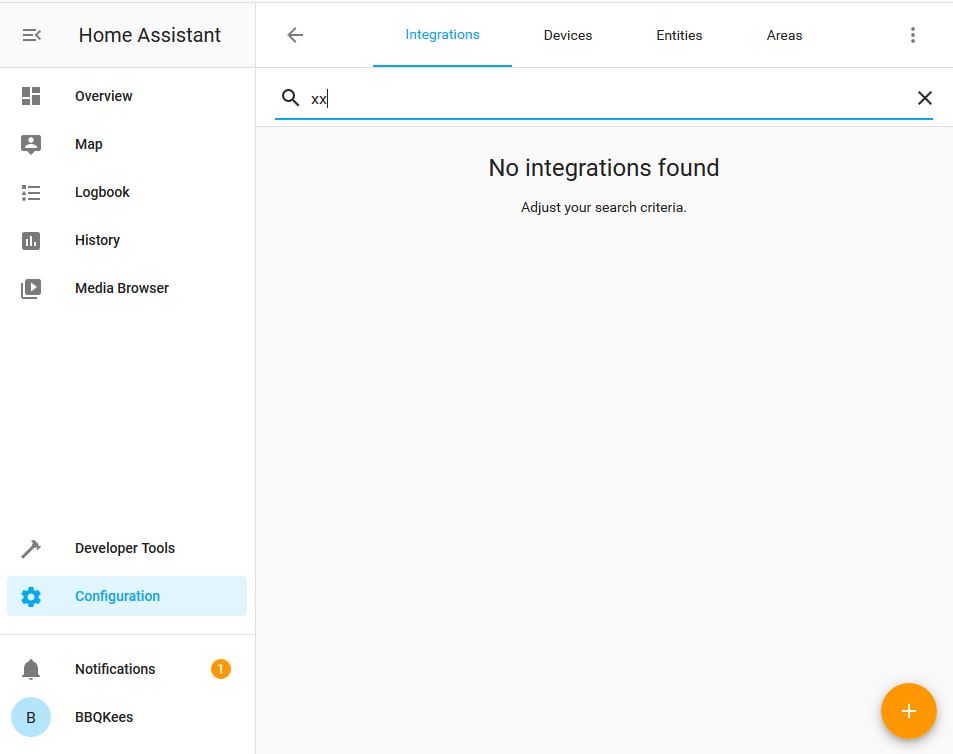
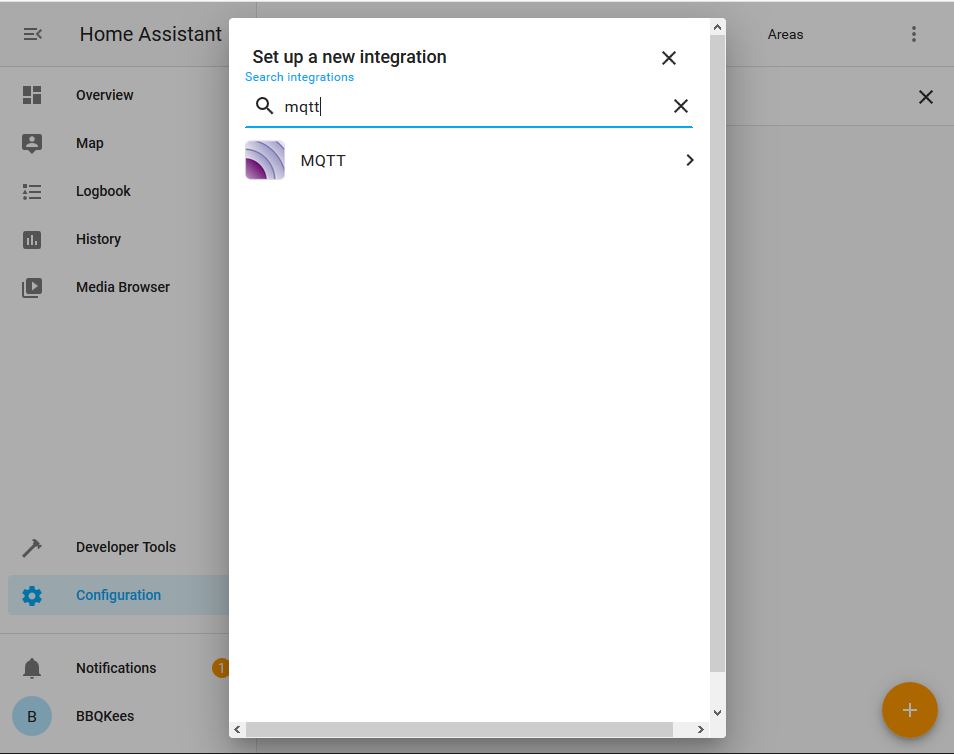
This is very easy. In Home Assistant, go to Configuration->Integrations and press on the orange ‘plus circle’.
In the next pop-up dialog type in ‘MQTT’ and selec the MQTT integration.
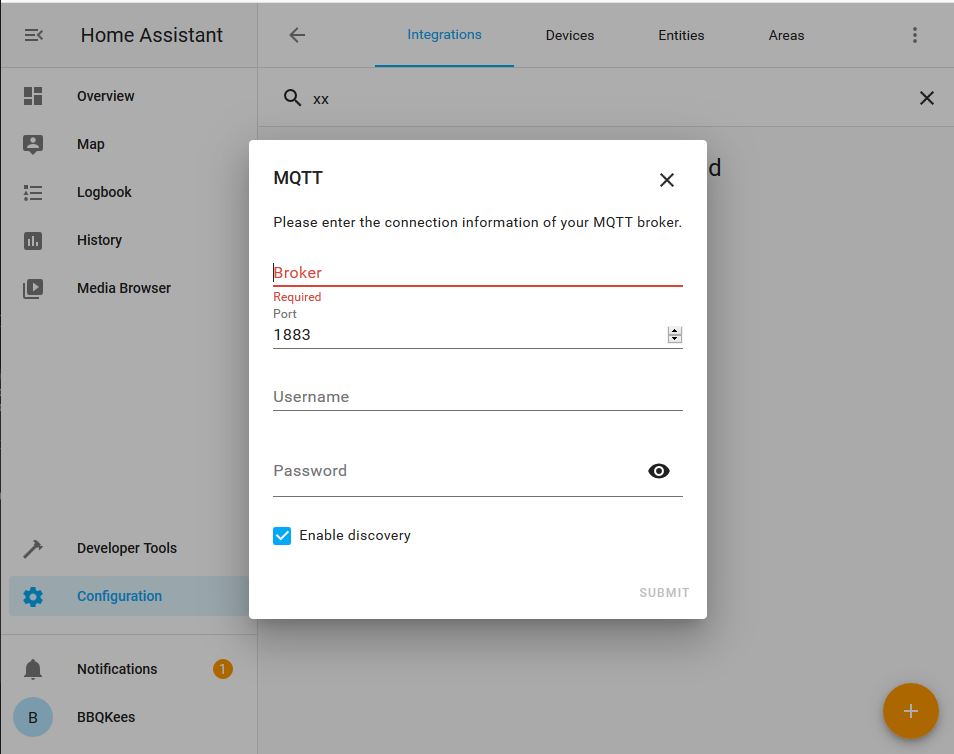
Now enter the IP address of your MQTT broker. Usually its on the same machine as Home Assistant so in that case fill in that IP address.
If everything went well, it should find the EMS-ESP devices instantly:
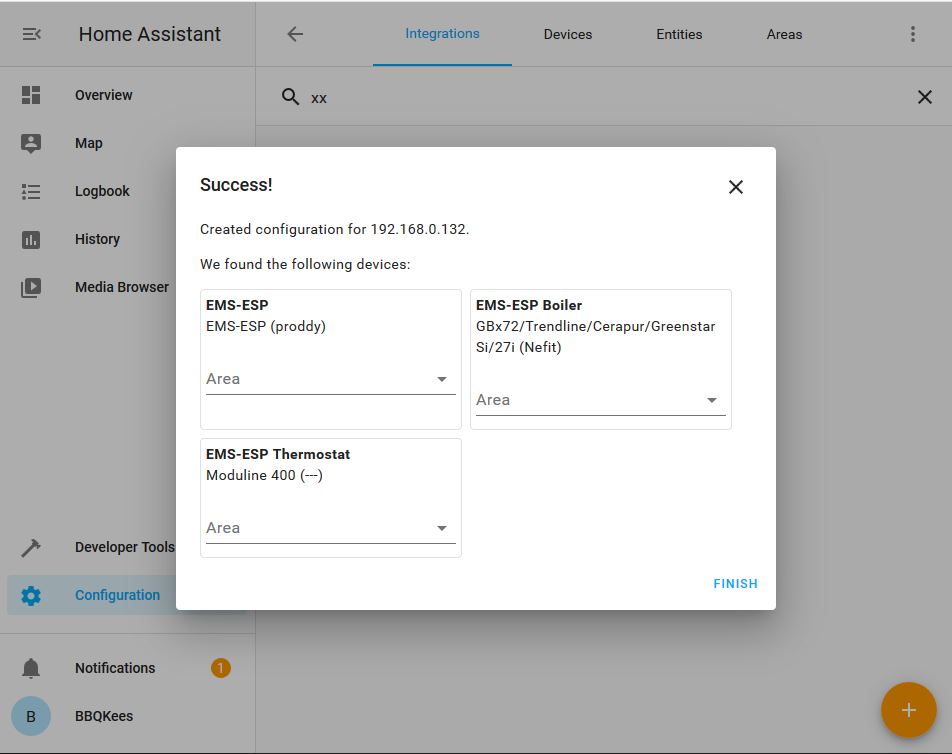
If so click on ‘finish’ and they will all appear on your lovelace dashboard!
Continue on the EMS-ESP Wiki 1 to learn more on how to add the devices to Home Assistant via MQTT Discovery.
Create settable devices
All devices that are now in Home Assistant are read-only. Some of these devices may be settable, like the boiler warm water temperature. To make this work you have to manually add a few lines of code to Lovelace for each device you want to be able to set. Because the way how such a device may be set from Home Assistant (radio button, switch, slider, climate dial) depends on preference, you have to create these manually yourself. See the EMS-ESP Wiki 1 for more details.
Note
In the upcoming EMS-ESP v3.4 all parameters that can be set will be automatically added as settable entities (switches, selector switches, values etc).
To see which devices can be set on your system, go to the web interface of EMS-ESP and click on the device in the list. Each parameter that has a pencil icon before it, is be settable.
