Configuration for Home Assistant part two
Now that Home Assistant had found all the Gateway devices its time to add them to a view. You can do this manually, or use the ui-lovelace.yaml configuration to add a preconfigured view to Home Assistant with most of the parameters and controls.
Adding the preconfigured view to Home Assistant
When copying all the YAML files from the repository, you also copied ui-lovelace.yaml to the config folder. If not, please do so now.
(Lovelace is the name of the default user interface of Home Assistant).
Open configuration.yaml and add:
# set Lovelace to YAML mode
lovelace:
  mode: yaml
Please follow the instruction from Home Assistant Lovelace YAML mode 1 as well so you don’t mess up your existing views! So add the existing view code to the ui_lovelace.yaml file.
When you are done, reboot Home Assistant.
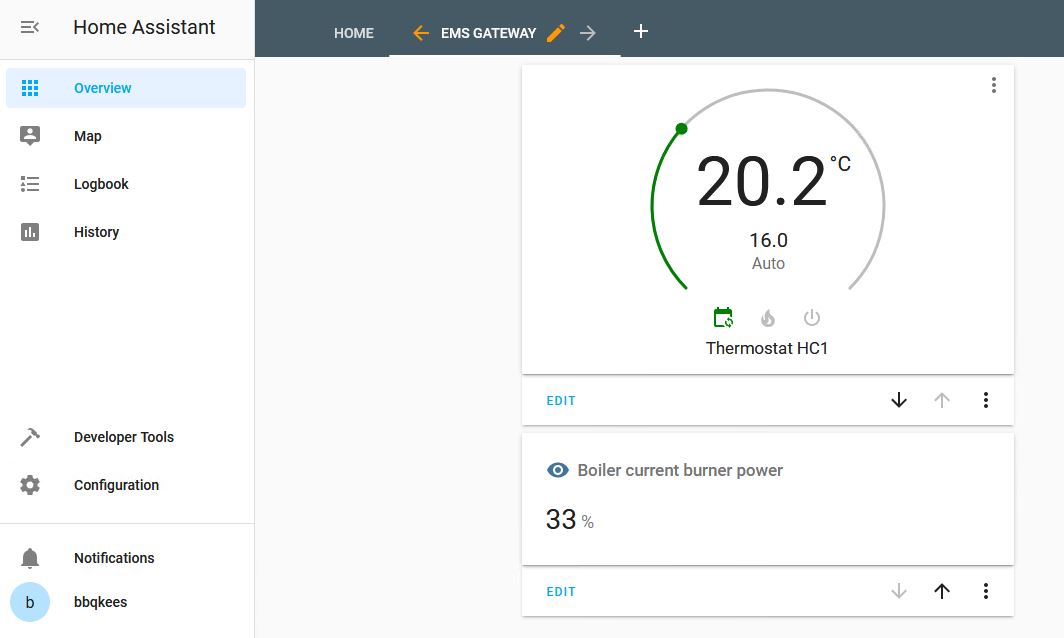
You now should have a new view called ‘Heating’ that looks like this:

Adding devices to the UI manually
If you want to build something yourself, click on the three dots on the top right and select ‘Configure UI’.
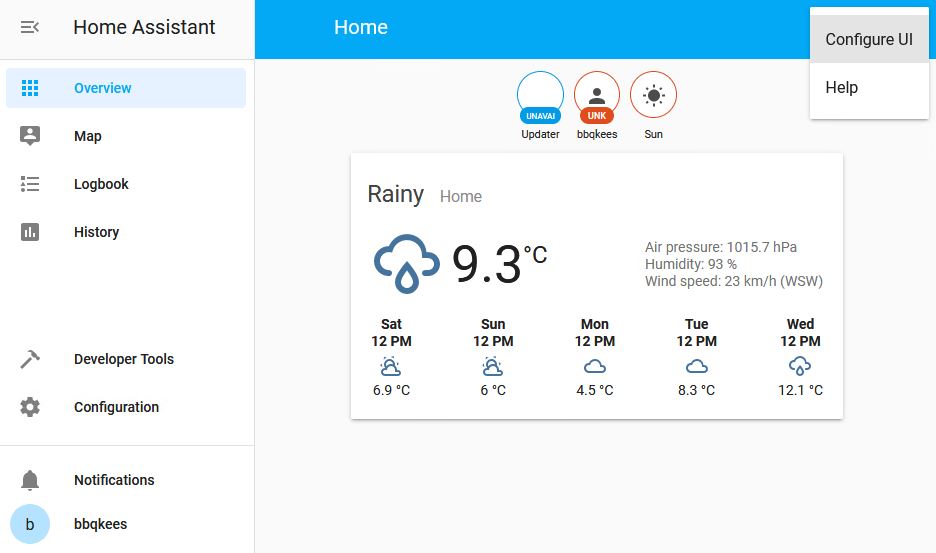
Now you can create a new view or add devices to an existing view.
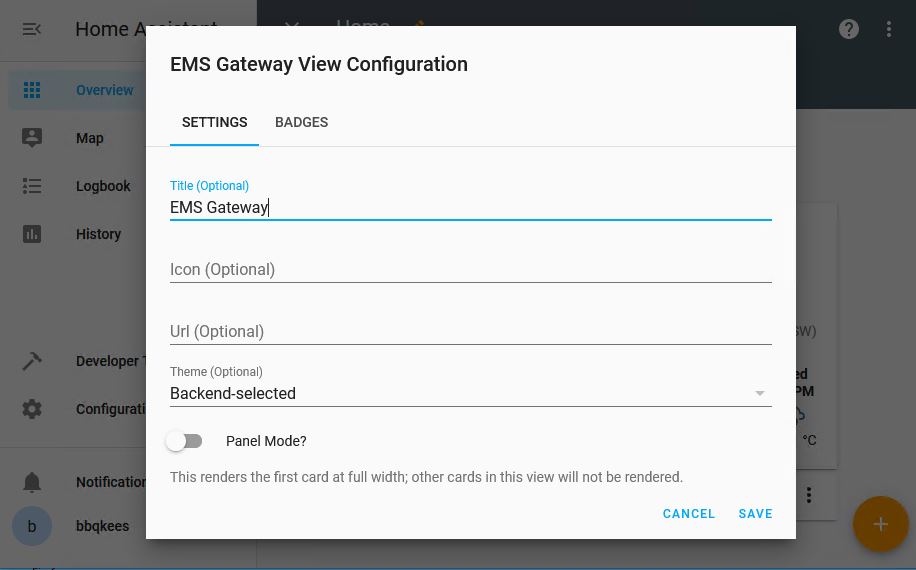
We will create a new view called ‘EMS Gateway’. next click on ‘Save’:
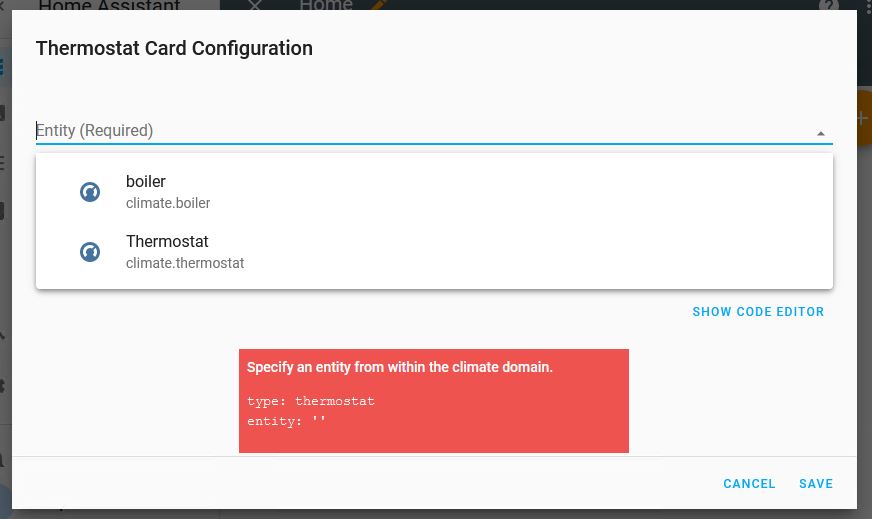
Now click on the big orange plus icon on the bottom right to add devices to this view.

We will add a thermostat by selecting the thermostat.
After that we add another sensor and the view will look like this: