Posted on

Product updates Q3 2025

Product ID fixed

Most products are now getting an internal code ID ‘burned’ into the memory of the ESP32 chip during production to identify the product and the batch number of its’ circuit board.
The latest EMS-ESP development firmware 3.7.3 version 15 or higher will detect this ID and fix the board profile accordingly.
Firmware 3.7.3 is not a stable release yet, but as the latest stable 3.7.2 does not have the internal code to look for this ID, all production boards which contain a product ID are loaded with the 3.7.3 dev15 or higher firmware.

In the past, a faulty firmware update could for instance reset the board profile to the default S32, which would render the Ethernet port inoperable. You would then have to log in via WiFi, set the board profile back to E32 V2 and reboot to get the Ethernet port working.
With the product ID fixed inside the ESP32, the firmware will then automatically recover and use the correct board profile.
If you are a developer who likes to play with custom board profiles on a BBQKees Gateway product, you need to take into account that the default EMS-ESP firmware will keep setting the board profile according to the product ID found.

The product ID is burned into the ESP32 chip, so this is persistent over firmware updates and will even survive a full erase of the flash memory.

How can I check if a product ID has been set?

If you visit the Hardware tab on the Status page of the web interface, the ‘Hardware device’ will show the BBQKees logo and will tell you which board revision and batch number it is.
If it does not show the BBQKees logo and give just the ESP32 chip revision, it will not have the product ID fixed.

Alternatively, you can use the terminal to check. Open a terminal on the Gateway via Telnet or serial en type in ‘show’.

If there is no fixed product ID, the model description will be empty. If a product ID was found, it will show the specification. Below on the left a board with product ID and on the right a board without product ID.

What happens when I load new firmware on a BBQKees product without a product ID?

Nothing will happen to the board settings when you update the firmware on an existing BBQKees product without fixed product ID. So it is backwards compatible.
However, if the product ID is set, any firmware from 3.7.3 dev15 and onward will fix the board profile to the one belonging to the product ID. So custom board profiles may be overruled.
If you use a custom board profile on a genuine BBQKees board you are probably a developer yourself so you will know how to change the board profile back to a custom one.

Discontinuation of the EMS Gateway S3

The manufacturer of the grey enclosure of the S3 and S3-LR Gateways has stopped production entirely earlier this year. We purchased all remaining stock we could find but our S3 enclosure inventory is almost depleted now.

Because of this, we were forced to revisit our product portfolio.
The S3 and E32 V2 Gateway models have only slight differences aside from the absence of LAN/Ethernet on the S3. As the more feature-rich Gateway E32 V2 is already our existing main product, we basically have an S3 ‘successor’ at hand.
Designing an completely new S3-like product in a new enclosure from scratch is a huge amount of work. It’s not just selecting an enclosure and fitting the circuit board to this new box, but you need to go through all the regulatory and compliance testing again which is both a pain in the ass and expensive. And after that create new manuals, instructions, design new packaging, incur new GTIN/EAN fees, etc etc.
Therefore we decided to focus solely on the E32 V2 instead of creating an additional successor of the S3.

Over the past 2 years we had plenty of time to refine the existing E32 V2, which will be able to handle all the stuff we can think of in the coming years thanks to its big and future proof 16MB Flash and 8MB PSRAM memory.

Time frame remaining stock

We will discontinue the S3 product line after the current stock has sold. We expect to sell out within a number of weeks or by the end of Q3 2025 at the latest. So if you like to get your hands on a small WiFi-only EMS Gateway you have to decide soon!
There will not be a sale on the remaining S3 or S3 KIT products. Business customers who would to get some S3 before it sells out, just send us an email for a quote.

The previously available S3-LR will not get into new production anymore obviously (we had a number of people on a waiting list).

Warranty and parts availability

The S3 Gateway will still be supported in future EMS-ESP firmware releases and you still get the 2-year BBQKees warranty. We are committed to long term service and are thus keeping an inventory of spare boards and other S3 parts for warranty replacements.

Posted on

Choosing the correct firmware bin file for your BBQKees product

When you want to update via USB or you need to load a specific firmware version on your BBQKees Gateway, you have to upload the correct bin file to your Gateway or otherwise you may brick it.

For uploading a new firmware to your Gateway via USB you need to use the EMS-ESP flash tool. See the wiki here for more instructions. In some cases you can manually download the firmware, and upload it via the web interface of the Gateway.

On the EMS-ESP Github repository you can download the firmware bin files. The naming convention since firmware 3.6.5 is structured according to the chip type (chipset) and features, and does not have the name of a Gateway product in it.

It is structured like below:

EMS-ESP-<version>-<chipset>-<flashsize>[+].bin

where <chipset> is ESP32 or ESP32S3 and <flashsize> either 4MB or 16MB. The + indicates that the firmware is built to use any additional RAM (called PSRAM) if available.


See the EMS-ESP download info page here for more information.

If you want to upload a specific firmware version 3.7.2 to lets say a new E32 V2 Gateway, you first need to lookup which ESP32 chip is used. The E32 V2 has a ESP32 chipset with 16MB of Flash and 8MB of PSRAM. The filename of the bin file would then be EMS-ESP-3_7_2-ESP32-16MB+.bin.

Below a handy list about which Gateway model has which features and thus needs which firmware bin file.

So firmware version 3.7.2 for the EMS Gateway E32 V2 is this one:
https://github.com/emsesp/EMS-ESP32/releases/download/v3.7.2/EMS-ESP-3_7_2-ESP32-16MB+.bin

As a second example say you would like to get the 3.7.1 firmware for the S3 Gateway.
That’s the following bin file:
https://github.com/emsesp/EMS-ESP32/releases/download/v3.7.1/EMS-ESP-3_7_2-ESP32S3-16MB+.bin

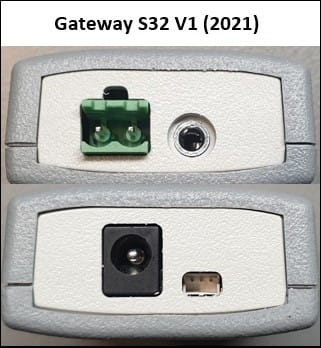
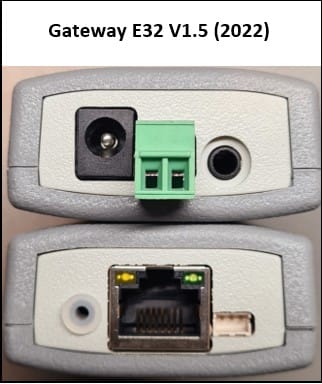
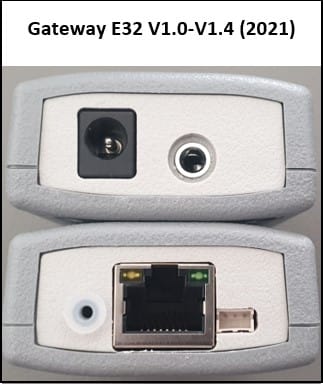
ModelSide imageESP32 chip typeFlash storagePSRAM storageFirmware name ends with
E32 V2ESP3216MB8MB*-ESP32-16MB+.bin
S3 and S3-LRESP32-S316MB8MB-ESP32S3-16MB+.bin
S32 V2.0ESP3216MBnone*-ESP32-16MB.bin
S32 V1.1ESP324MBnone*-ESP32-4MB.bin
E32 V1.5ESP324MBnone
*-ESP32-4MB.bin
E32 V1.1-V1.4ESP324MBnone*-ESP32-4MB.bin

If you purchased an EMS interface board, you needed to get your own ESP32 development board. Because there are about 100 different ones available, please check carefully which ESP32 processor it has.
Next check the size of the Flash memory, and then if it has PSRAM.

Currently the most popular board is the Lilygo T7 S3. It has an ESP32-S3 chipset, 16MB of Flash and 8MB of PSRAM. For this one you need the bin file: EMS-ESP-3_7_2-ESP32S3-16MB+.bin.
Another popular cheap board is the MH-ET Live D1 Mini (or clone) module which have the ESP32 chipset, 4MB of Flash and no PSRAM. For this board you need the bin file: EMS-ESP-3_7_2-ESP32-4MB.bin

If you load a bin file without the ‘+’ on the end (meaning it is for boards without PSRAM) onto a ESP module that does have PSRAM on board, EMS-ESP will work. However, the PSRAM is not seen and not activated.

If you load a ‘+’ bin file on a board without PSRAM, it may not boot.

Posted on

Adding DS18B20 temperature sensors to your Gateway (without soldering)

This guide will show you how to easily add some DS18B20 temperature sensors to your BBQKees EMS Gateway.
No soldering skills necessary.

You can add DS18B20 sensors to all BBQKees Gateways ever made by using the small 3-wire JST cable that is supplied with each Gateway order.

The easiest to use are waterproof DS18B20 sensors with a cable. These are cheap and convenient to use.
We do not sell these sensors, they are available at many places online.


You can add a number of these sensors in parallel to a Gateway. The specific number varies depending on the length of the cable and the type of DS18B20 sensor used. But in general 10 sensors is usually not a problem.

Make sure the sensors are all of the same DS18B20 sub-type and do not mix parasitic mode with normal mode wiring.

Prerequisites and parts

  • BBQKees EMS Gateway
  • 3-wire JST ZH cable
  • DS18B20 waterproof sensors with cable
  • 3 Wago 221 splicing connector with levers or f.i. a ‘lusterklemme’
  • Wire stripper
Parts for adding DS18B20 sensors

Step 1: Strip the wires on the JST cable

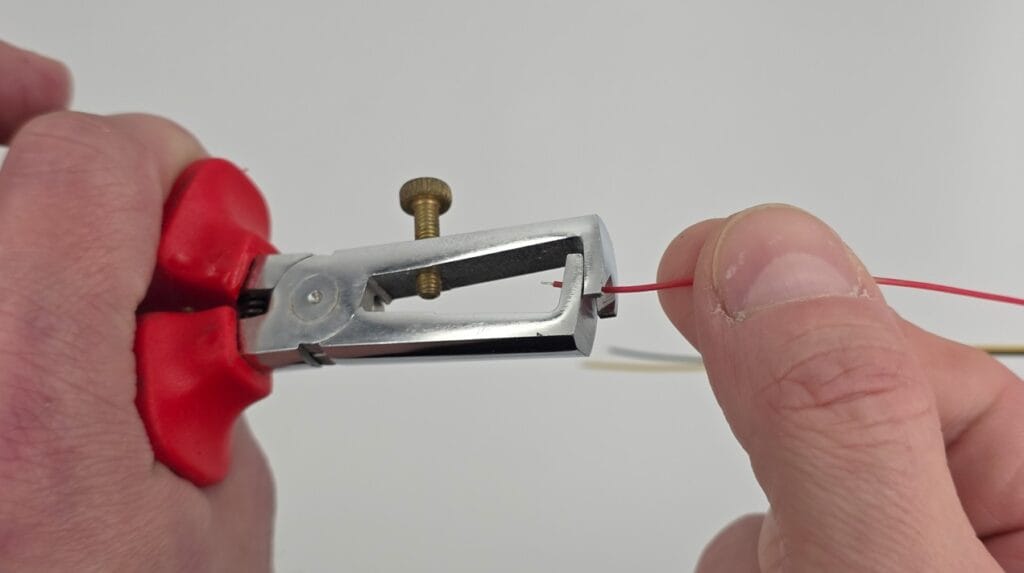
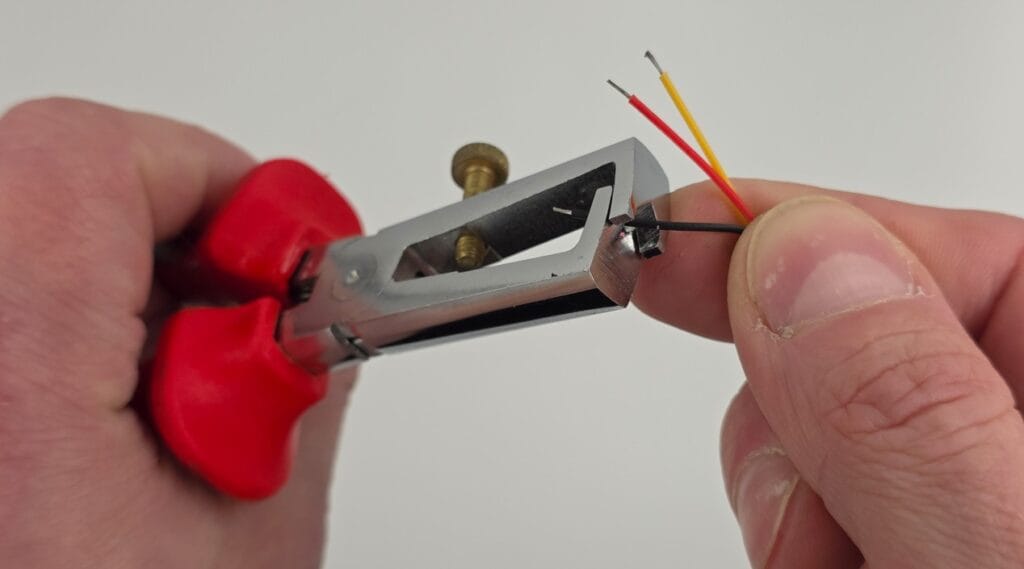
You need to strip the wires on the JST cable by about 10mm. If the wire ends are soldered, it’s better to cut them off at the point of the wire insulation before stripping. This will make stripping the wires easier.

Stripping JST cable
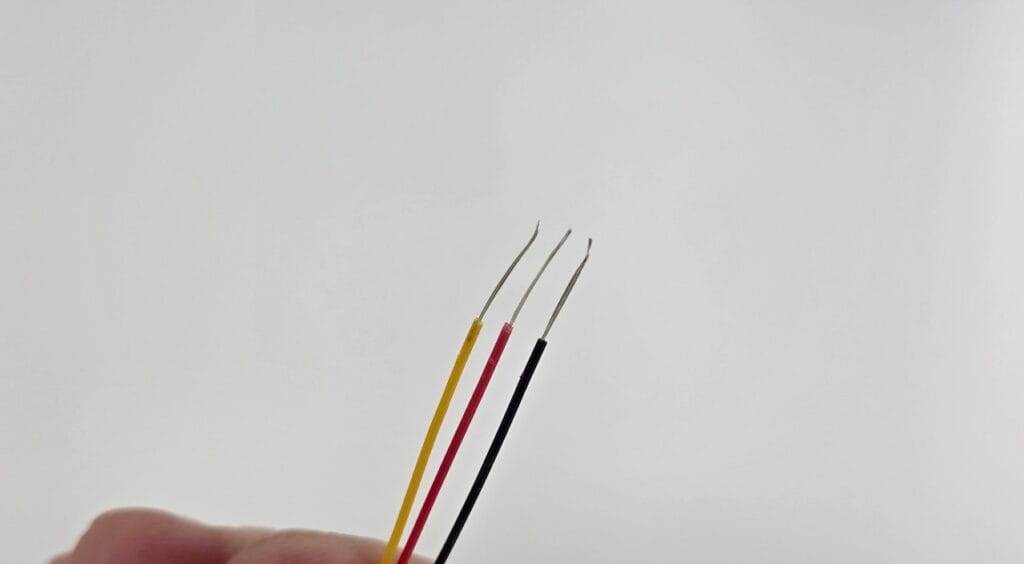
Stripped JST cable

Step 2: Strip the wires on the DS18B20 sensors

Strip them 10mm, or at least the same length as you stripped the JST cable.

Step 3: Tie the wire ends together

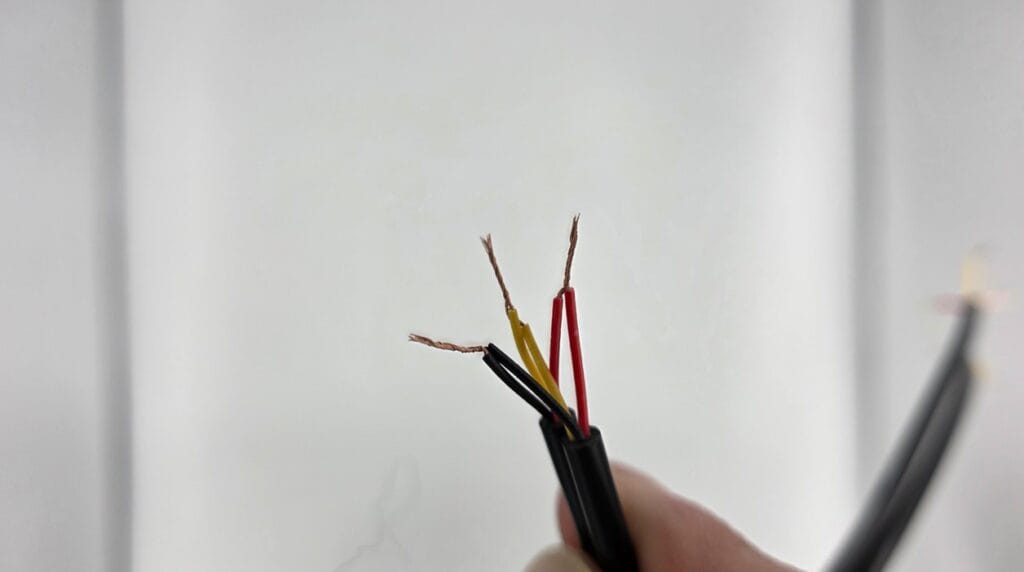
Tie the wire ends together. Tie each color separately. So all yellow wires together, all black wires together and all red wires together.
If there are too many cables, you can also do 2 or 3 cables each time.

Tied cables

Step 4: Put each wire color in a separate Wago clamp

This step is where you could make the most errors so be careful here.

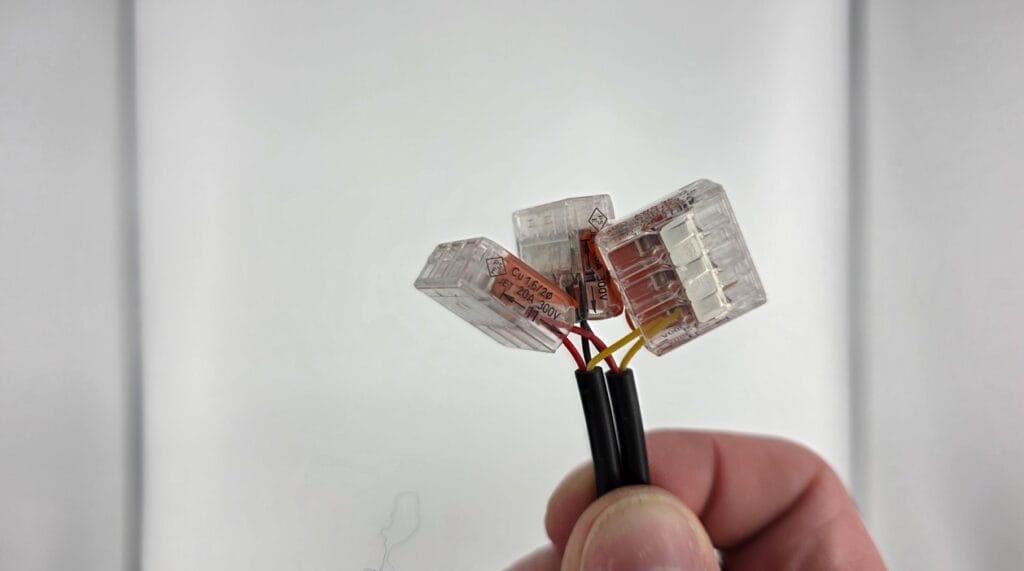
You need to insert each cable bundle of it’s own color into a separate Wago clamp.
DO NOT put any other wire color in the same clamp as this will cause shortcuts.

Wire ends in Wago clamps
End result DS18B20 sensors in Wago clamps

Step 5: Insert the JST plug into the EMS Gateway

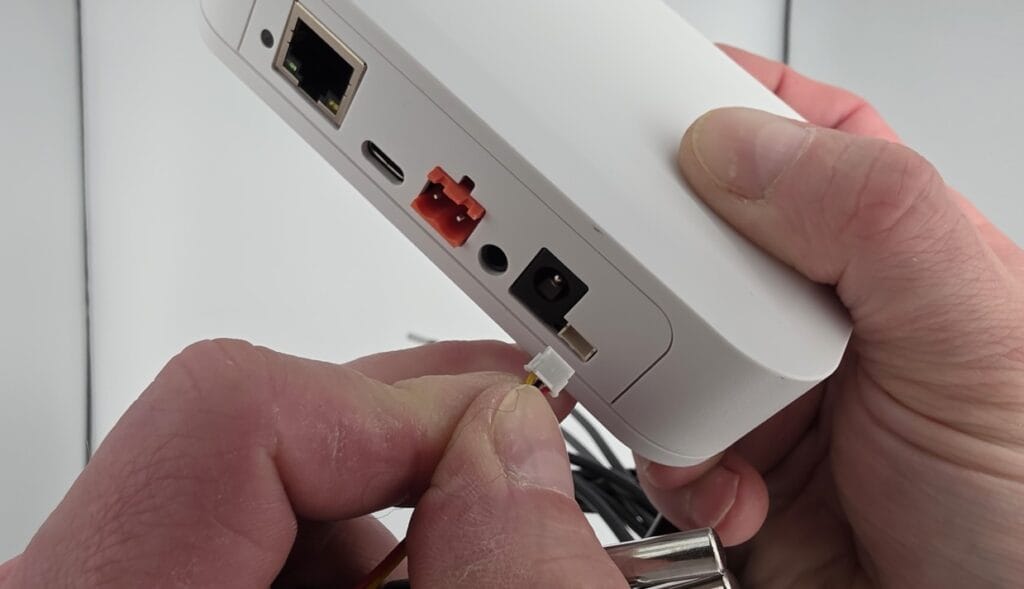
Insert the JST plug into the JST connector in the Gateway. You need to keep the flat part of the plug at the top. Make sure it is fully inserted. See the image below for the correct orientation.

It’s best to turn off the Gateway before doing this. If the Gateway does not boot afterwards, you made a shortcut in the wiring.

Inserting the JST cable

Step 6: Check the EMS-ESP web interface and rename the sensors

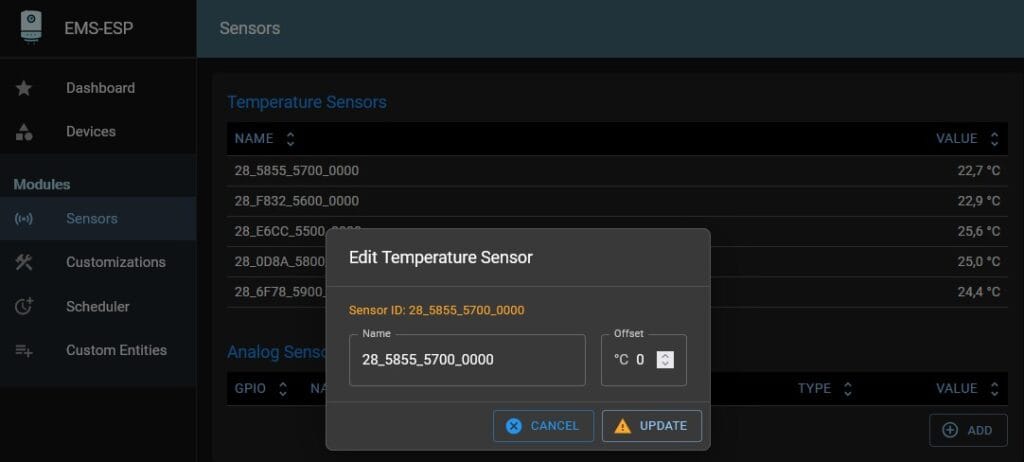
If everything went correct, you will see the sensors appearing in the Sensors tab in the web interface.

Sensors tab EMS-ESP web interface

Each DS18B20 sensor has it’s own unique address identifier. These identifiers are displayed.
You can click on one to rename it.
After you rename a sensor, it is also renamed in MQTT and Home Assistant etc.

Renaming sensors

If you added a bunch of sensors at the same time, it can be hard to distinguish them.
You can heat each sensor separately with f.i. a hair dryer or heat gun and see which one gets hotter.

And that’s it!

Posted on

New Gateway models S3 and S3-LR available

As time progresses so does the EMS-ESP firmware. We were now at a point were EMS-ESP would benefit from some more RAM memory.

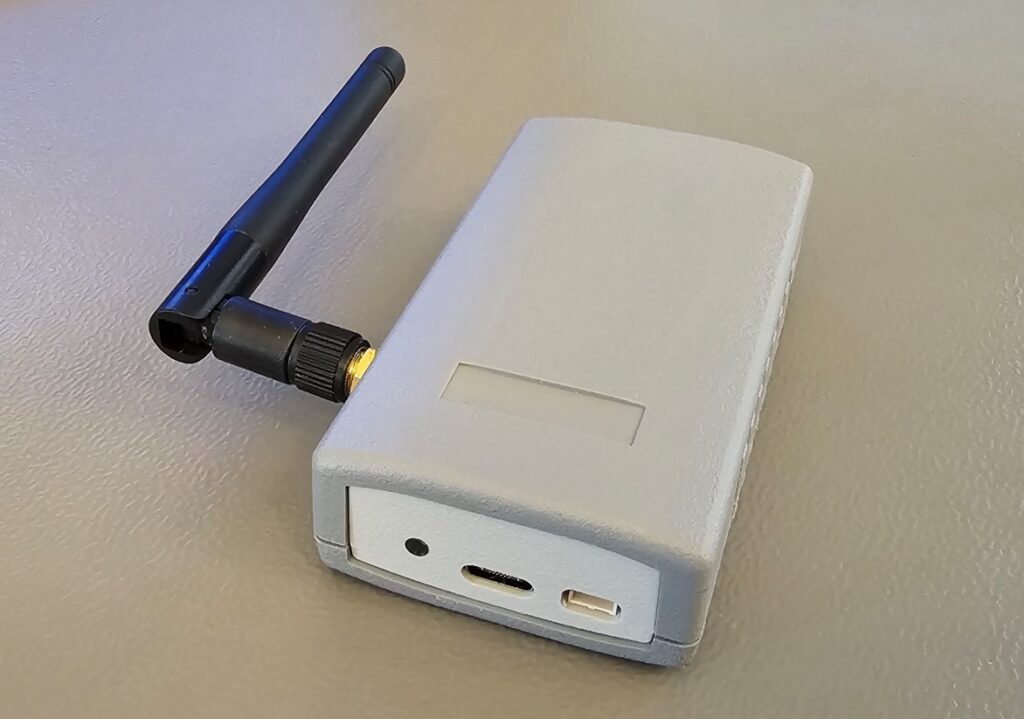
That’s why BBQKees Electronics is introducing the new EMS Gateway S3 models. One with the default on-chip antenna and an identical Gateway model with an external high gain antenna for those area’s with low WiFi reception. These are the replacement for the very popular S32 Gateway.

S3-LR front
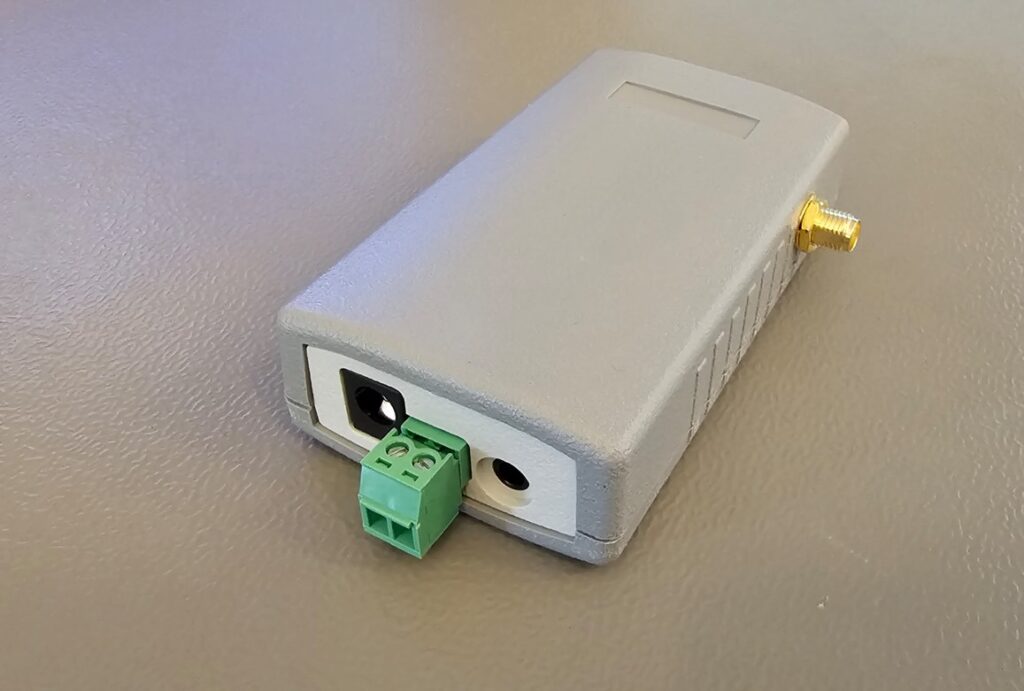
S3-LR back

Hardware changes

The S3 models looks and feel identical to the EMS Gateway S32 V2.0 they are replacing but they now come with an ESP32-S3 module with 16MB Flash and a hefty 8MB PSRAM (in addition to the on-chip 512KB RAM), which makes it more suitable for large EMS systems with a heat pump or multiple zones/heating circuits.

The new hardware continues using the existing third-gen BBQKees EMS detecting and sending circuitry design as in the S32 Gateway and the EMS Interface board V3’s, which has proven extremely reliable and robust over the years for all EMS types across all Bosch brands.

Aside from the more powerful chip, this model now also features an external USB-C connector for manual firmware updates (if ever needed). The USB-C connection makes use of the internal USB OTG controller of the ES32-S3 so we don’t need the CH340 chip and driver anymore.

What has remained unchanged are the positions and pinout of the external connectors so the S3 is a direct replacement for S32 setups. Only the LED lightguide was changed a bit.

The power options via the service jack or 12V DC power supply also remained the same.

Firmware

The S3 models will be loaded with firmware EMS-ESP32 v3.6. This is exactly the same firmware with the exact same features as for the S32, just built for the different chip architecture of the S3.
The 3.6 firmware contains a number of new features over 3.5.1, most notably further memory optimizations.

Upgrade discount

If you already own an S32 Gateway it’s probably not really worthwhile to upgrade to the new S3, but if you want too or if you still have an old ESP8266 Gateway like the Premium II you can get a 15% discount on a new S3 Gateway of your choosing. Just use the contact form to contact me with your previous order ID and I’ll give you a discount code.

Posted on

Massive firmware update now available: EMS-ESP 3.5.0

Firmware EMS-ESP 3.5.0 has been available as a beta for quite some time and it had already been loaded on new Gateways since October 2022, the release version of 3.5.0 (stable) is now available as well.
Thanks to a lot of work by Proddy and MichaelDvP and assisted by a number of other contributors, this is one of the most feature rich updates yet.

Remember the firmware is completely open source

The the most noticeable new feature is going to be the addition of localization. This means you can now change the language from English to other languages. The release of 3.5.0 will contain English, German, Dutch, Polish, French, Swedish and Norwegian language.

This localization is in all major parts of EMS-ESP: the web interface and MQTT.

There are however some breaking changes. The most important one is that there is now support for multiple Gateways on a single MQTT broker. When enabled, which is now the default, all MQTT Discovery Entity IDs will include the MQTT base name and the shortname of the EMS-ESP device entity. For example what was previously sensor.boiler_actual_boiler_temperature will now become sensor.ems_esp_boiler_boiltemp. This means these entities will have to be replaced inside HA. See below. If you still want to use the old format and retain the history and script compatibility in Home Assistant then set this back to the old format.

New features and updates

Summary of new stuff:

  • Localization: addition of German, Dutch, Polish, Swedish, French and Norwegian language options.
  • Support for multiple Gateways on the same broker (for hybrid systems and for multiple boilers/cascade)
  • 100+ bug fixes and new features
  • Added initial support for ESP32 C3 and S2 architectures
  • Several new board profiles
  • Improvements in HA Discovery and MQTT handling
  • Addition of new EMS boilers, thermostats and other devices (Greenstar 30, GBH192iT, FW500, BC30)
  • Addition of additional parameters of known EMS devices (f.i. RC30 internal temp, 20+ heat pump parameters)
  • Improved handling of logic/telegrams of some EMS devices
  • Setting the 4 multi-purpose relays/inputs of heatpumps (via API)

Full release notes see: https://emsesp.github.io/docs/#/Release-notes

How to update to 3.5.0

To update to the release version of 3.5.0 depends on which firmware you are on now, and when you purchased a Gateway product. In most cases you should first try out an update via the web interface. If it succeeds, you are on 3.5.0. If it fails you need to flash the Gateway via the internal USB connection on the Gateway board.

Read the instructions below for the correct update procedure for your situation.

If you are currently on any 3.3 or older version you need to use the USB method anyway.
If you are currently on any 3.4 or 3.5 version first try the update via the web interface and if it fails update via the USB port.

Method one: Update via the web interface

Download the 3.5.0 bin file from the repository. Then open the web interface of the Gateway, go to System->Upload and select the bin file you just downloaded.
See: https://bbqkees-electronics.nl/wiki/gateway/firmware-update-and-downgrade.html#updating-firmware-via-the-web-interface

The upload will take about a minute. If the Gateway has installed the firmware and rebooted itself, you should see the login screen again after a while. Press F5 to clear the browser cache. Then login.
Settings should be pertained.


In case you get an error 500 during the upload, you need to move on to method two below.


In case you have an E32 Gateway and it became unreachable after the update, the board profile might have been reset to S32 or Custom. Please login to the ems-esp access point, set the board profile back to E32, save, and reboot. Ethernet will be activated again.

Method two: Update via the USB port

If a lot of cases you need to upload this firmware via the USB port on the inside of the Gateway. It is the only time this is needed, if 3.5.0 is installed once, all future updates can be done via the web interface.

You need to open the Gateway, plug in the USB to a computer and load the firmware via the EMS-ESP flash tool. DO NOT use another flash tool as it will not work.
All settings will be lost after this update, so make a note of all important ones.
(You can also backup your settings and customizations before the update and load them once the update is done).

For the detailed update procedure look here: https://bbqkees-electronics.nl/wiki/gateway/firmware-update-and-downgrade.html#uploading-the-firmware-via-ems-esp-flasher-flashtool

If you have questions about the update you can send me an email via the contact form.

Breaking change: MQTT entity ID’s

For a number of entities in Home Assistant the unique ID has changed in the auto discovery config . This means these entities will have to be replaced inside HA.
This is because there is now support for multiple Gateways on a single MQTT broker. When enabled, which is now the default, all MQTT Discovery Entity IDs will include the MQTT base name and the shortname of the EMS-ESP device entity. For example what was previously sensor.boiler_actual_boiler_temperature will now become sensor.ems_esp_boiler_boiltemp. This means these entities will have to be replaced inside HA. See below. If you still want to use the old format and retain the history and script compatibility in Home Assistant then set this back to the old format.
There is a new checkbox in the Settings to keep the ID as in firmware 3.4 for those who do not want to switch now.


Another way is to rename the entity ID’s in the HA database with a script. See: https://github.com/emsesp/EMS-ESP32/issues/804

Possible bugs

After the update to 3.5.0 it is possible that sometimes during loading or viewing of the web interface you’ll get an Error 507.
This is because the new web interface needs a fairly large chunk of memory, which is not always available. You get this error 507 then. All other services on the Gateway will continue to work. See: https://github.com/emsesp/EMS-ESP32/issues/823