This guide will show you how to easily add some DS18B20 temperature sensors to your BBQKees EMS Gateway.
No soldering skills necessary.
You can add DS18B20 sensors to all BBQKees Gateways ever made by using the small 3-wire JST cable that is supplied with each Gateway order.
The easiest to use are waterproof DS18B20 sensors with a cable. These are cheap and convenient to use.
We do not sell these sensors, they are available at many places online.
You can add a number of these sensors in parallel to a Gateway. The specific number varies depending on the length of the cable and the type of DS18B20 sensor used. But in general 10 sensors is usually not a problem.
Make sure the sensors are all of the same DS18B20 sub-type and do not mix parasitic mode with normal mode wiring.
Prerequisites and parts
- BBQKees EMS Gateway
- 3-wire JST ZH cable
- DS18B20 waterproof sensors with cable
- 3 Wago 221 splicing connector with levers or f.i. a ‘lusterklemme’
- Wire stripper

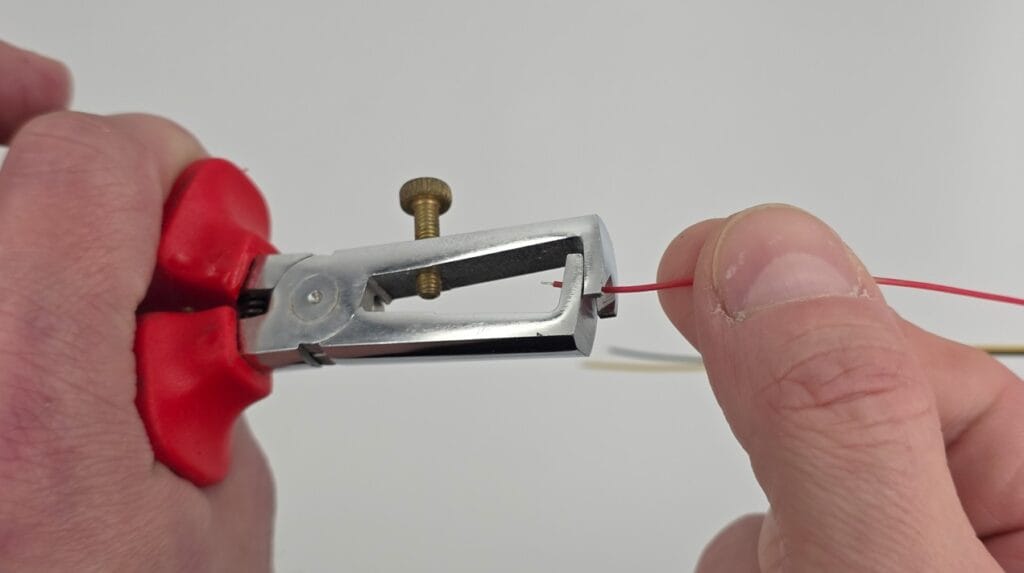
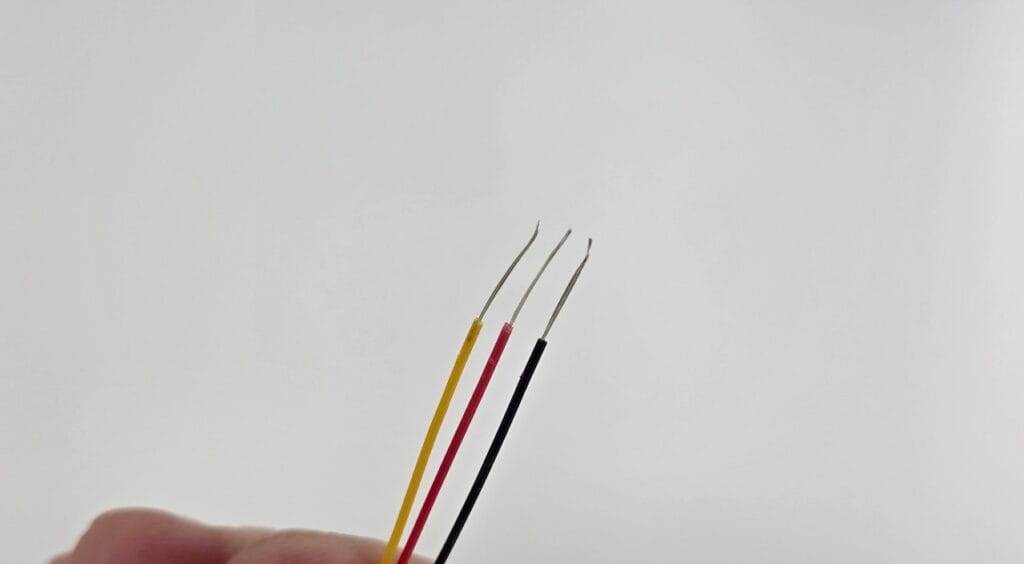
Step 1: Strip the wires on the JST cable
You need to strip the wires on the JST cable by about 10mm. If the wire ends are soldered, it’s better to cut them off at the point of the wire insulation before stripping. This will make stripping the wires easier.
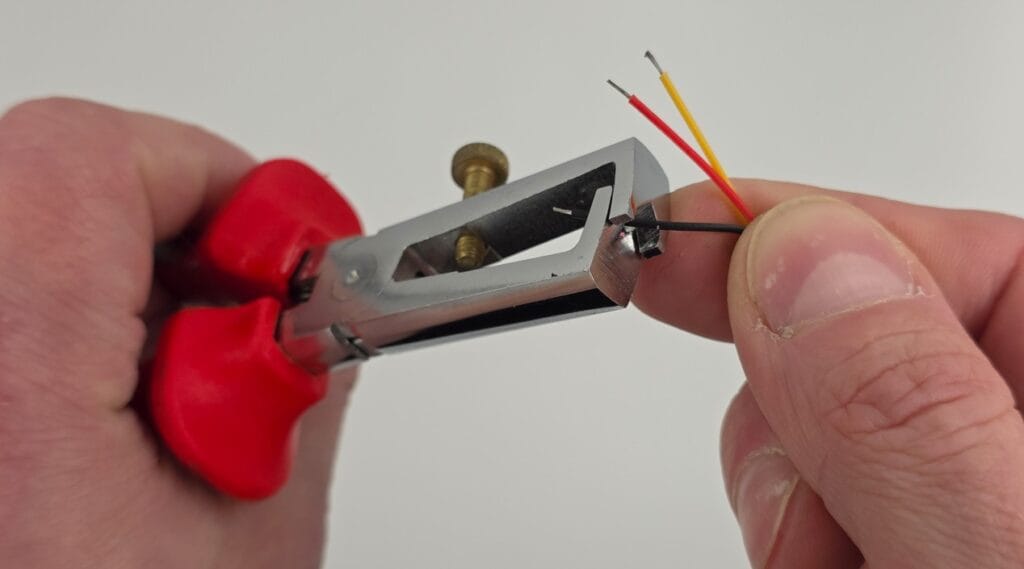
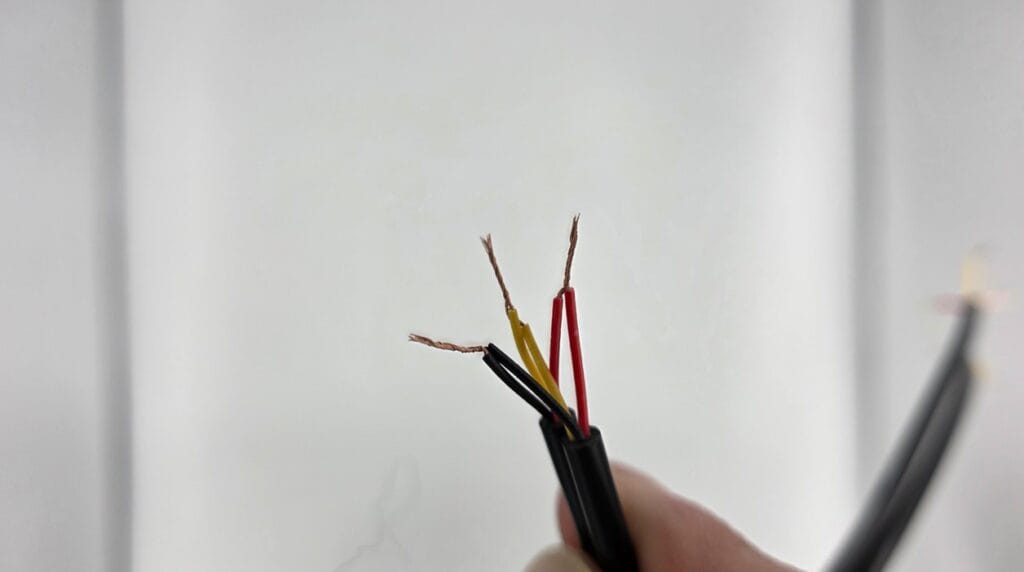
Step 2: Strip the wires on the DS18B20 sensors
Strip them 10mm, or at least the same length as you stripped the JST cable.
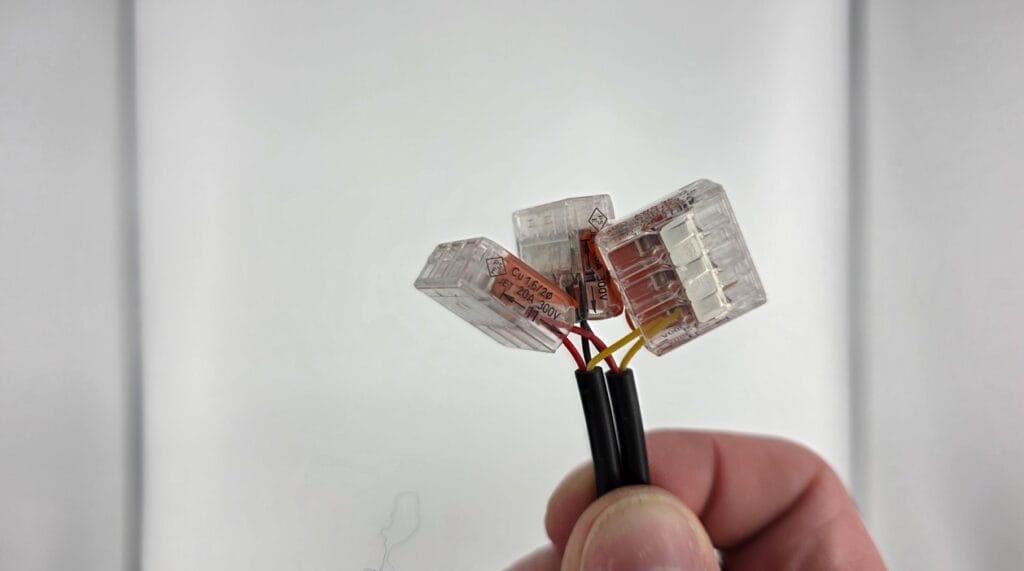
Step 3: Tie the wire ends together
Tie the wire ends together. Tie each color separately. So all yellow wires together, all black wires together and all red wires together.
If there are too many cables, you can also do 2 or 3 cables each time.

Step 4: Put each wire color in a separate Wago clamp
This step is where you could make the most errors so be careful here.
You need to insert each cable bundle of it’s own color into a separate Wago clamp.
DO NOT put any other wire color in the same clamp as this will cause shortcuts.

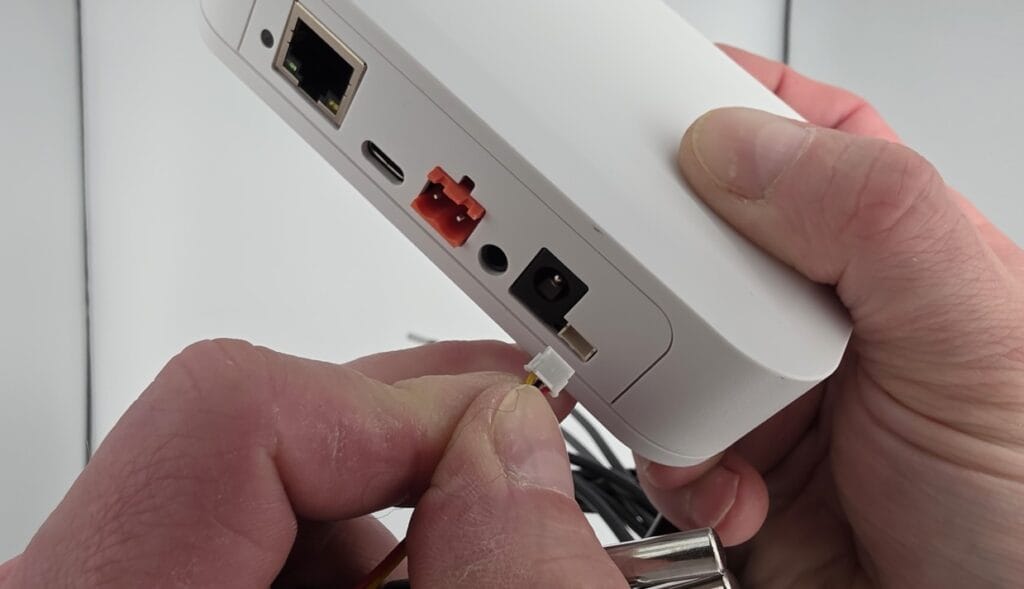
Step 5: Insert the JST plug into the EMS Gateway
Insert the JST plug into the JST connector in the Gateway. You need to keep the flat part of the plug at the top. Make sure it is fully inserted. See the image below for the correct orientation.
It’s best to turn off the Gateway before doing this. If the Gateway does not boot afterwards, you made a shortcut in the wiring.
Step 6: Check the EMS-ESP web interface and rename the sensors
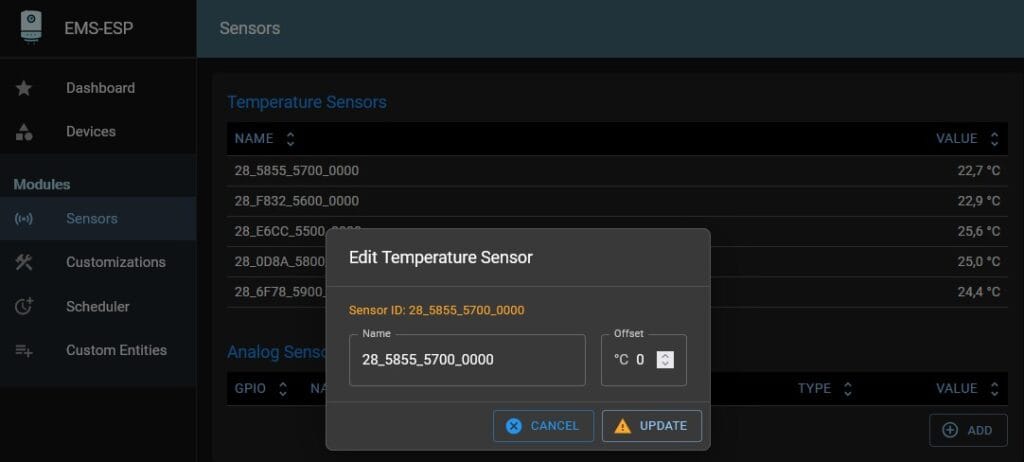
If everything went correct, you will see the sensors appearing in the Sensors tab in the web interface.

Each DS18B20 sensor has it’s own unique address identifier. These identifiers are displayed.
You can click on one to rename it.
After you rename a sensor, it is also renamed in MQTT and Home Assistant etc.
If you added a bunch of sensors at the same time, it can be hard to distinguish them.
You can heat each sensor separately with f.i. a hair dryer or heat gun and see which one gets hotter.
And that’s it!