Configuration for Home Assistant (MQTT Discovery)

Caution
There are many ongoing changes to the firmware. The setup of your device may be slightly different than what is described in this guide.
If you start fresh with Home Assistant some of the things you need to do to set it al up may seem daunting, but usually you get along with the basics pretty quickly.
If everything goes well, you will have all EMS entities in Home Assistant within 5 minutes.
The basics
When the EMS Gateway boots up, it will detect all entities on the EMS bus in your EMS system. The amount of entities will be different for each system. The EMS Gateways rely on the MQTT integration in Home Assistant to communicate. In particular it uses the MQTT Discovery feature.
This allows the Gateway to advertise all the entities it found in your EMS system to Home Assistant and provide a configuration for each entity as well. The Gateway will create a device in Home Assistant for itself (called EMS-ESP) and for each EMS bus device in your system.
So if you have a boiler and a thermostat, it will create a device ‘EMS-ESP boiler’ and a device ‘EMS-ESP Thermostat’. Each device has a list of entities belonging to that device.
Steps
Log into Home Assistant
Create a new user in Home Assistant for MQTT
Install the MQTT integration in Home Assistant
Connect the EMS Gateway to the bus and log into the web interface
Configure the MQTT settings in the Gateway
BOOM! all entities will show up in Home Assistant within a few minutes.
Log into Home Assistant
Go to the login screen and log in with your account http://homeassistant.local:8123
Create a new user for MQTT
MQTT needs some security. Therefore it is important to add a user account with password for it.
Create a new user for MQTT via your Home Assistant’s frontend Settings -> People -> Users , (i.e. not on Mosquitto’s Configuration tab). Direct link: http://homeassistant.local:8123/config/person
Click on ‘Allow login’ to be able to fill in a user and password.
Notes: This name cannot be ‘homeassistant’ or ‘addons’, those are reserved usernames. If you do not see the option to create a new user, ensure that Advanced Mode is enabled in your Home Assistant profile.
This step is often omitted in the configuration of MQTT. As a result the MQTT broker will be running, but you cannot connect.
You will see the following screen:

After you have created the new user, remember the user name and password you just filled in.
Install the MQTT integration in Home Assistant
If you are running HA OS or you have f.i. a Home Assistant Green or Yellow, you can install the MQTT integration via the dashboard.
If you are running HA in a container you may need to install MQTT in a different way. If you were able to install HA in a container, you will also be able to figure out how to install MQTT in the same way.
You can use the following link: https://my.home-assistant.io/redirect/config_flow_start?domain=mqtt
Or Go to Settings -> Devices and Services and click on the ‘Add Integration’ button in the bottom right of the screen.

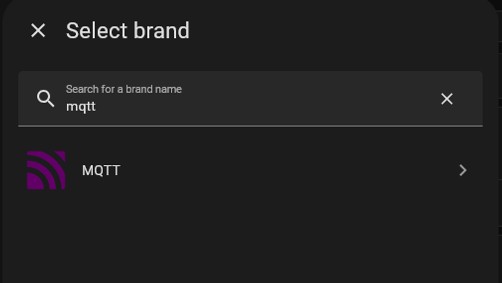
Fill in ‘mqtt’ in the search bar. It will show a single brand ‘MQTT’. Click on it.
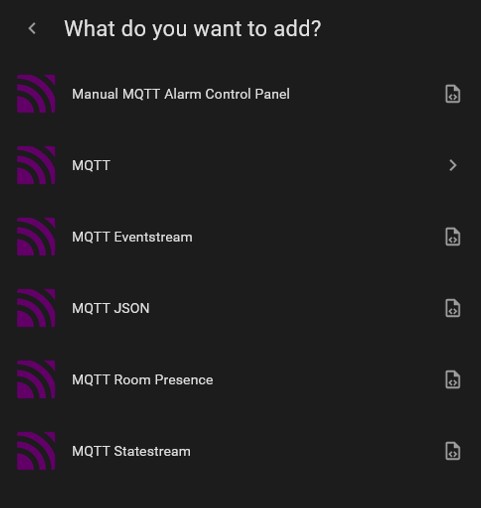
Then you get a question what you would like to add. Click again on ‘MQTT’.
In the dialog that follows next click on ‘Use the official Mosquitto Mqtt Broker add-on’.

It will now install the integration.

If everything went OK you will see the Success! dialog.

If you now check the Integrations page you will find the ‘MQTT’ integration in the list. Click on the icon to configure the MQTT Integration.

You will be shown the overview page for the MQTT integration.

Click on ‘Configure’ and then again on ‘configure’, or on the 3 vertical dots and on ‘Reconfigure’.
You now need to enter the user details of the user we created a few moments ago. Probable the user ‘home-assistant’ was filled in. Remove it and fill in the new user and password.
As a final step check if ‘Enable Discovery’ is turned on. The default prefix is ‘homeassistant’. You should leave it at the default. If you change it here, you also need to change it in the Gateway MQTT settings later on.

Now that we have succesfully setup the MQTT integration in Home Assistant, we can configure the MQTT settings in the Gateway.
Connect the EMS Gateway to the bus and log into the web interface
If you have not connected the Gateway to the EMS bus yet, please do so and login to the Gateway Dashboard. http://ems-esp.local/ or http://ems-esp or via the IP address the router gave to your Gateway.
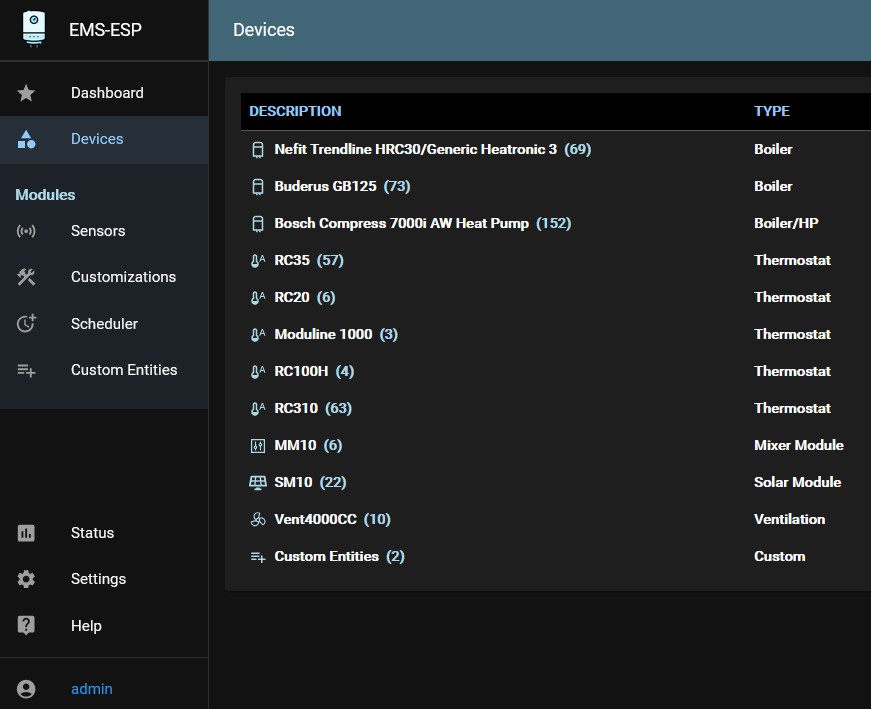
After logging in you should see some devices found in the bus (Click on the Devices tab on the left)
Configure the MQTT settings in the Gateway
Go to Settings -> MQTT

Select ‘Enable MQTT’.
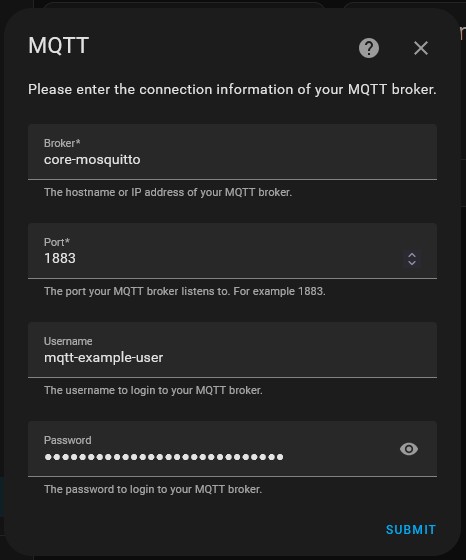
Now fill in the IP address (or ‘home-assistant.local’ if you can connect to that URL in your local network) of the machine that runs Home Assistant. Remember the user and password we created earlier for MQTT and fill it those details here.
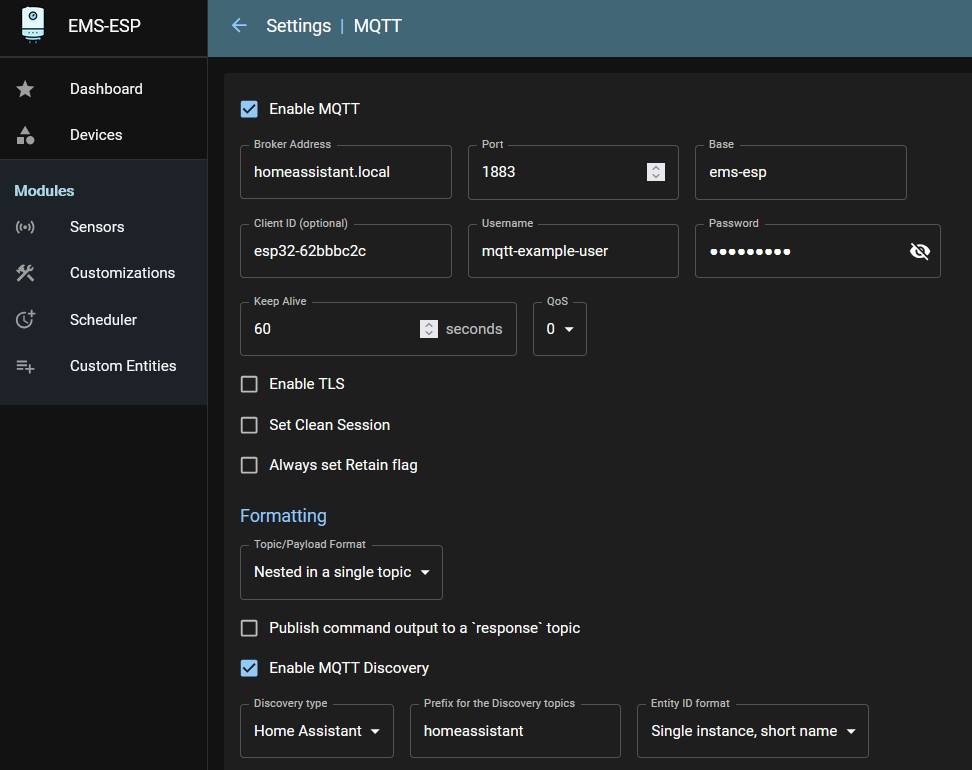
Turn on ‘Enable MQTT Discovery’ and select the Entity ID format ‘Single instance, short name’.
Note
If you have or are planning to use more than one Gateway in the same Home Assistant machine, f.i. when you have a hybrid heat pump and a boiler, you need to select ‘Multiple instance, short name’ instead.
If you have filled in everything, click on ‘Save’.
To see if the Gateway was succesfully communicating with Home Assistant go to Status->MQTT.
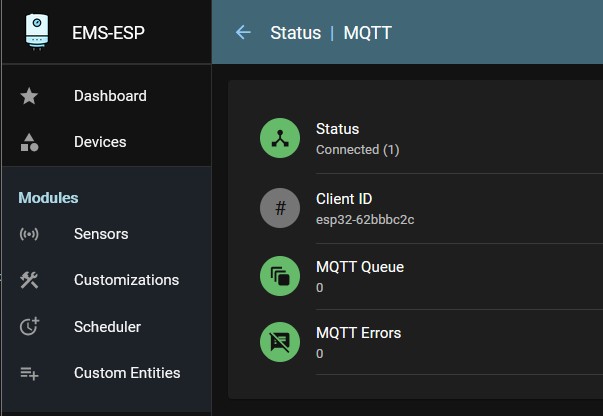
If it shows ‘Connected’, congratulations. You succesfully connected your boiler/heat pump into Home Assistant! If it shows disconnected, you can check the reason why. Usually the IP address is incorrect or the user details are wrong.
If it showed ‘Connected’, go back to the Integrations page in Home Assistant and click on the MQTT integration and next on ‘Devices’. You will now see a number of EMS-ESP devices. One for the Gateway itself and one for the heat source and one one for each device found on the EMS bus.
Note
Please allow at least 10 minutes for EMS-ESP to populate all MQTT topics and to let Home Assistant discover the new entities.

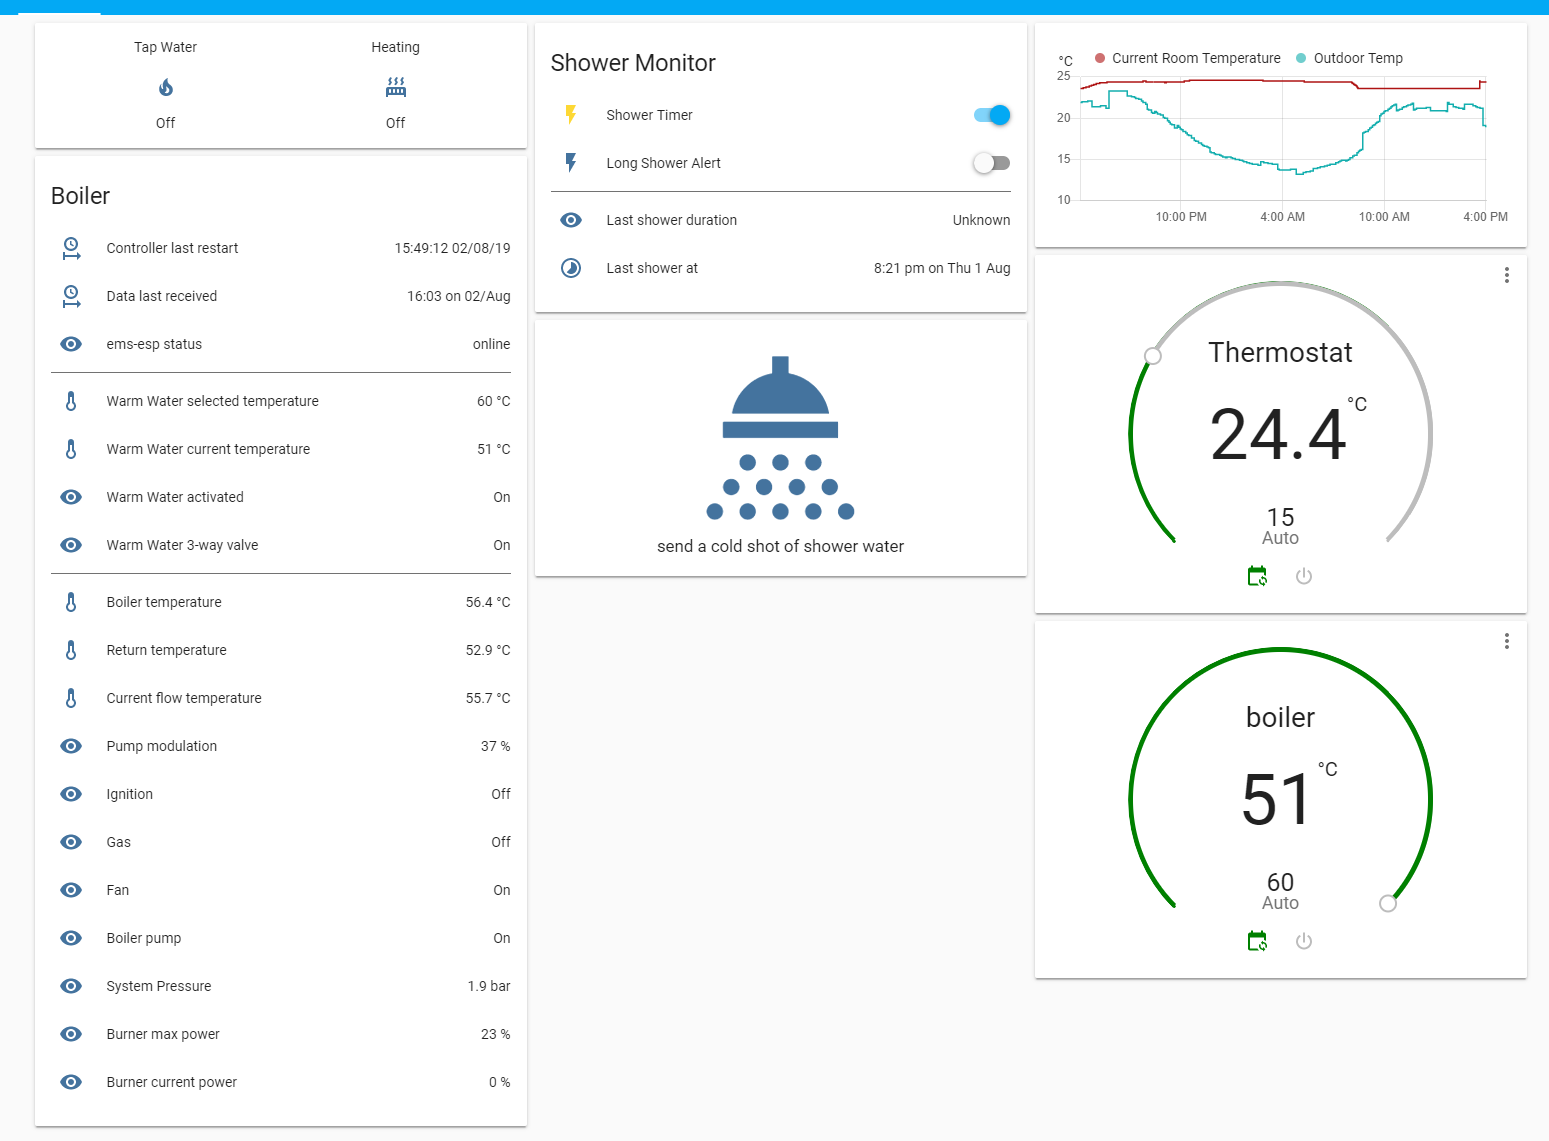
If you click on f.i. the first device ‘EMS-ESP’, you will get the overview of the entities belonging to that device. To get all these entities on your lovelace dashboard, click on ‘Add to Dashboard’. If you only want to select a few you can deselec the ones you are not interested in.
