Overview of all web interface settings EMS-ESP V3.7.3
There’s a whole range of other settings you can make from within the web interface. Most speak for themselves. Below an overview of all pages. With each new firmware version features are added and sometimes removed. There are so many new features with each release, they might not be explained below yet.
The pages below are still based on the V3.7 firmware of EMS-ESP32. These will be updated soon. Since firmware V3.5 there is support for localization. This means you can switch the language to f.i. Dutch or German. All features are the same for each language.
Dashboard
The dashboard page provides a more detailed overview of the status of the Gateway. This is the page you will see first after logging in. If the Gateway has not been set up, you are looking at an almost empty page here.
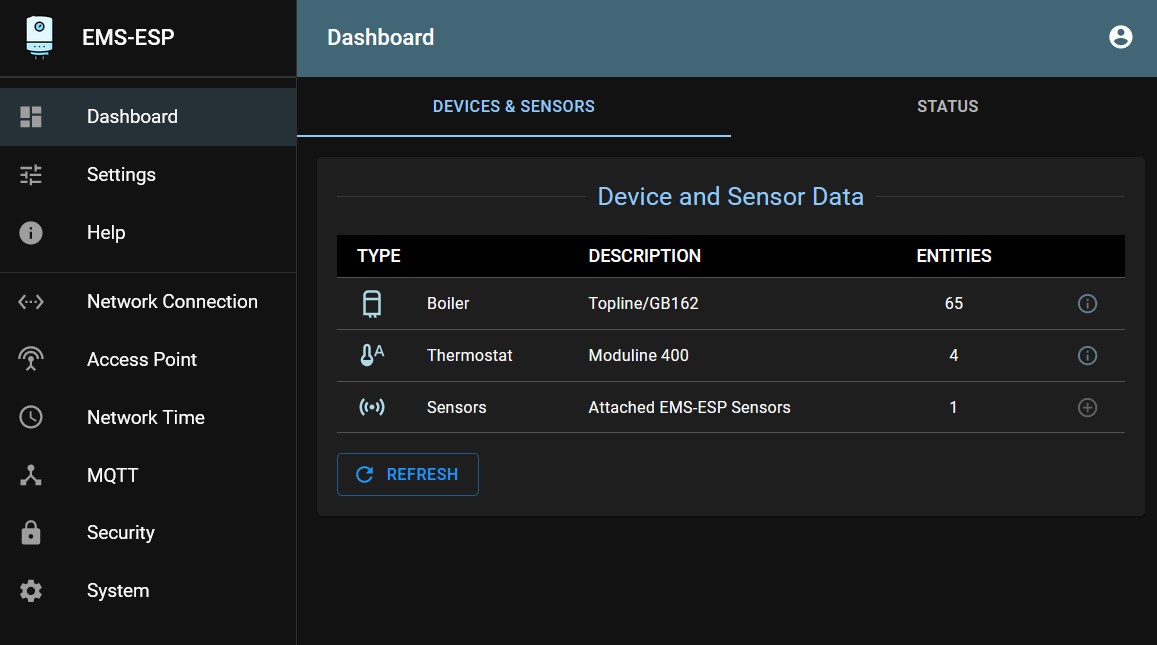
Devices and Sensors
The Devices and Sensors tab gives you an overview of all devices found on the EMS bus. If you are missing a device, press the ‘Scan Devices’ button.
If you connected DS18B20 sensors these are listed as well.
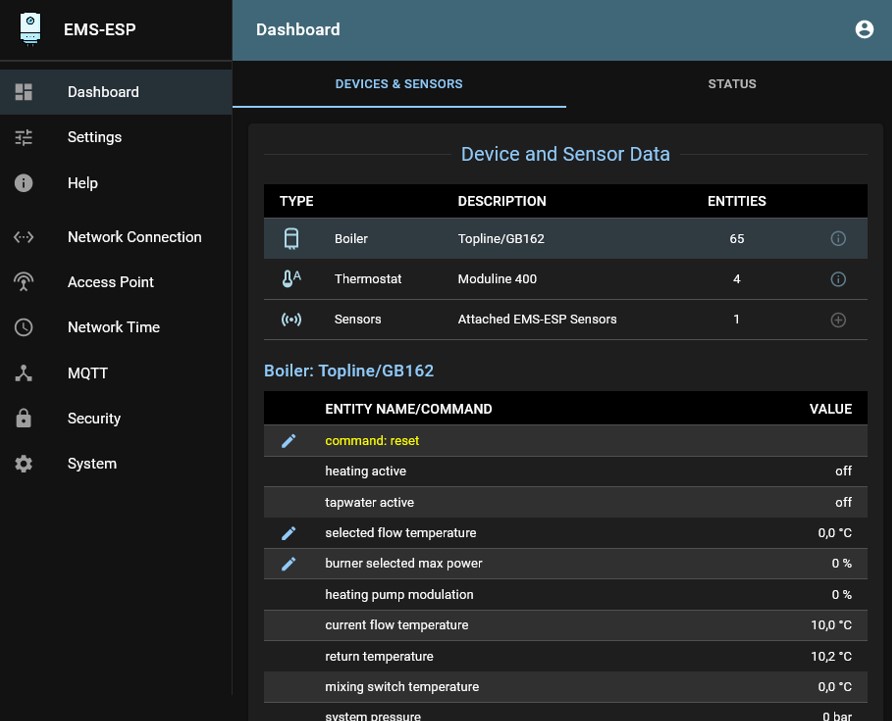
If you click on one of the devices you get all the details that are reported over the EMS bus:
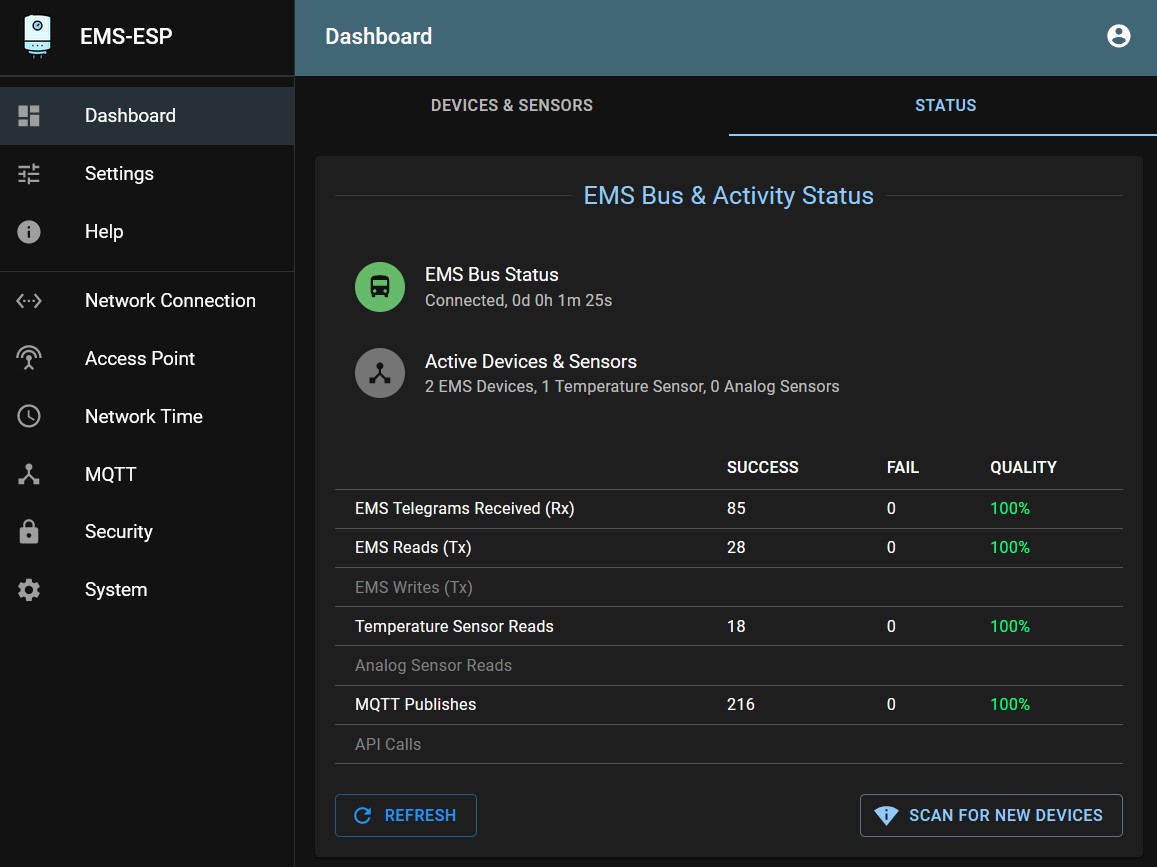
EMS Status
The EMS Status tab gives you information if the bus is connected correctly.
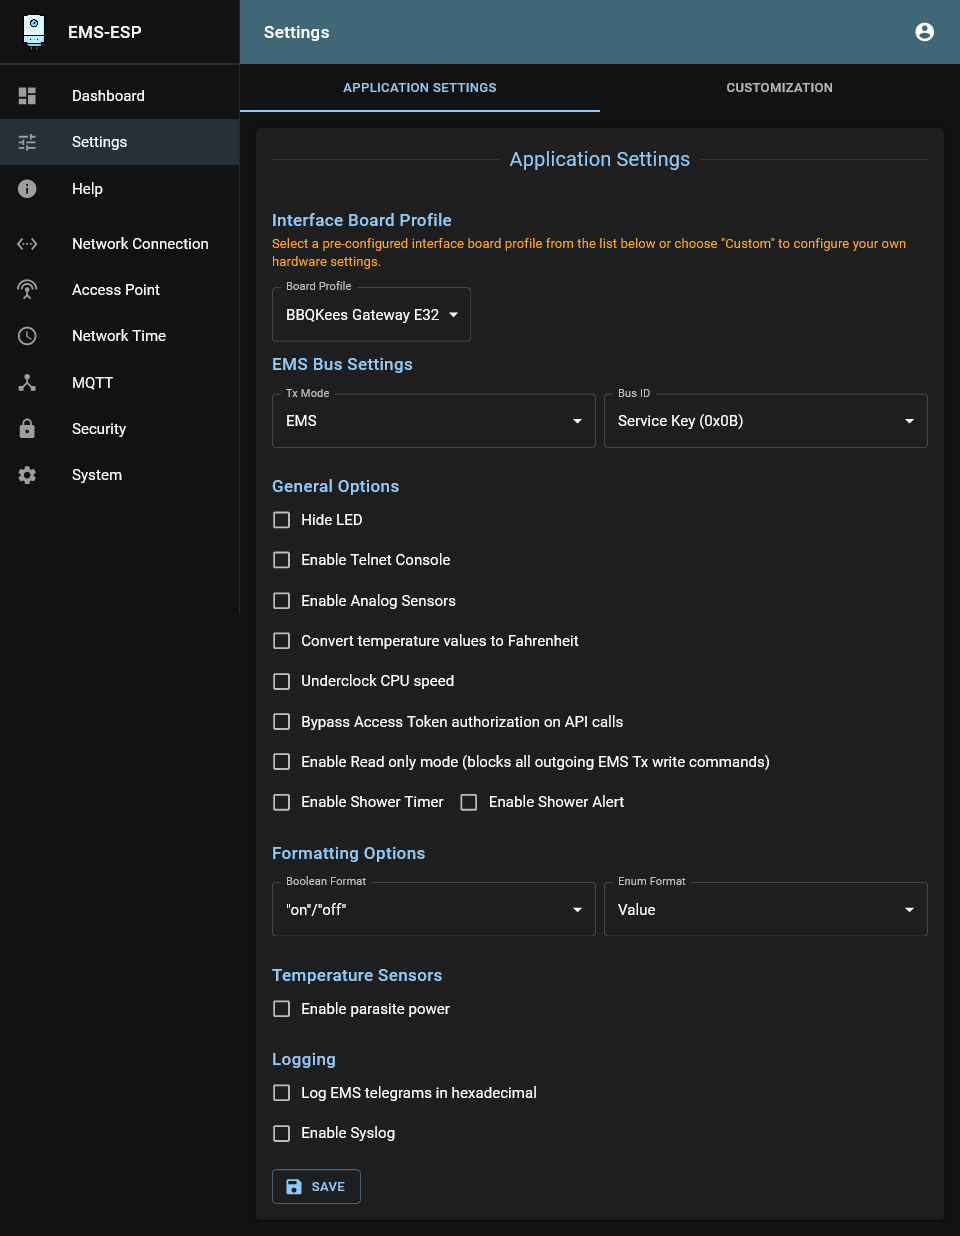
Settings
On the EMS-ESP settings page you can change the Tx mode and change the Bus ID of the Gateway. Also you can turn on the Shower Timer and Shower Alert features which give a notification of shower duration in Home Assistant and a cold burst of water after a few minutes.
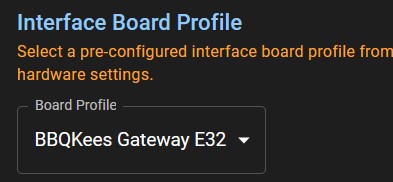
Board profile
EMS-ESP32 V3 works with board profiles. These are sets of predefined pin and Ethernet configuration files.
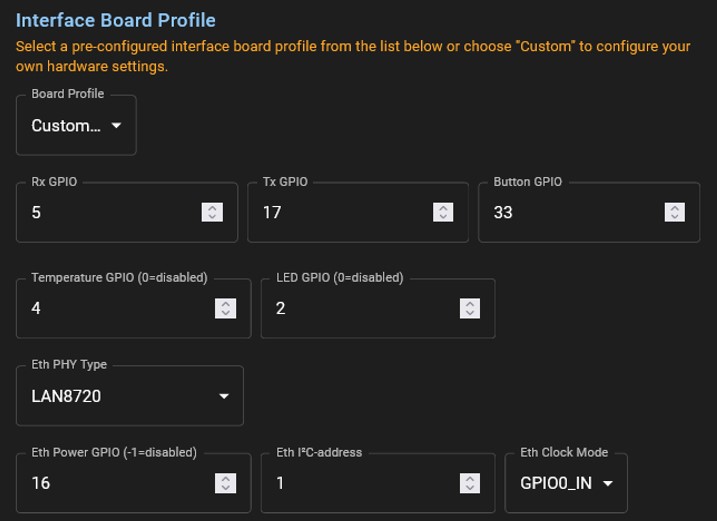
If you are using a custom pinout, choose ‘Custom’ and set your own pins:
EMS bus settings
TX mode
Here you can set the EMS TX mode to one of three options:
EMS -> General setting for most boilers/ heat pumps.
EMS+ -> For some newer boilers/heat pumps.
HT3 -> Heatronic 3 mode for Junkers.
Hardware -> Fastest mode of the bus, might not work on every device.
Bus ID
The Gateway has an address on the EMS bus called a Bus ID. It can be changed here if needed. The default is Service key (0x0B). Normally you do not need to set this to another ID. Even if you have RX/TX issues, leave it as it is.
General options
Hide Led -> The blue LED will be turned off by default.
Enable Telnet Console -> Enable the Telnet interface on port 23.
Enable analog sensors -> EMS-ESP supports some analog sensors but the useage is not really documented yet.
Convert temperature values to Fahrenheit -> Switch between Celcius and Fahrenheit.
Underclock CPU speed -> By underclocking the Gateway CPU it becomes a slightly more energy efficient. Usually not needed.
Bypass Access Token authorization on API calls -> To use the API you need to send an access token on each call.
This can be turned off, but is also means you make the system less secure.
Enable Read only mode -> This mode will only listen to incoming telegrams. No telegrams are sent by the Gateway.
This also means it’s hard to detect devices on the bus, and you cannot interact with devices in any way.
Enable Shower Timer -> On some Nefit boiler you can use this function for sending a cold burst of water after 3 minutes of showering.
Enable Shower Alert -> This option times the use of hot tap water (DHW) and sends a notification to Home Assistant.
Formatting options
Here you can change the formats used in MQTT and the API.
Temperature sensors
If you use the DS18B20 sensors in parasitic mode you need to turn it on here.
Logging
Turn on Syslog etc.
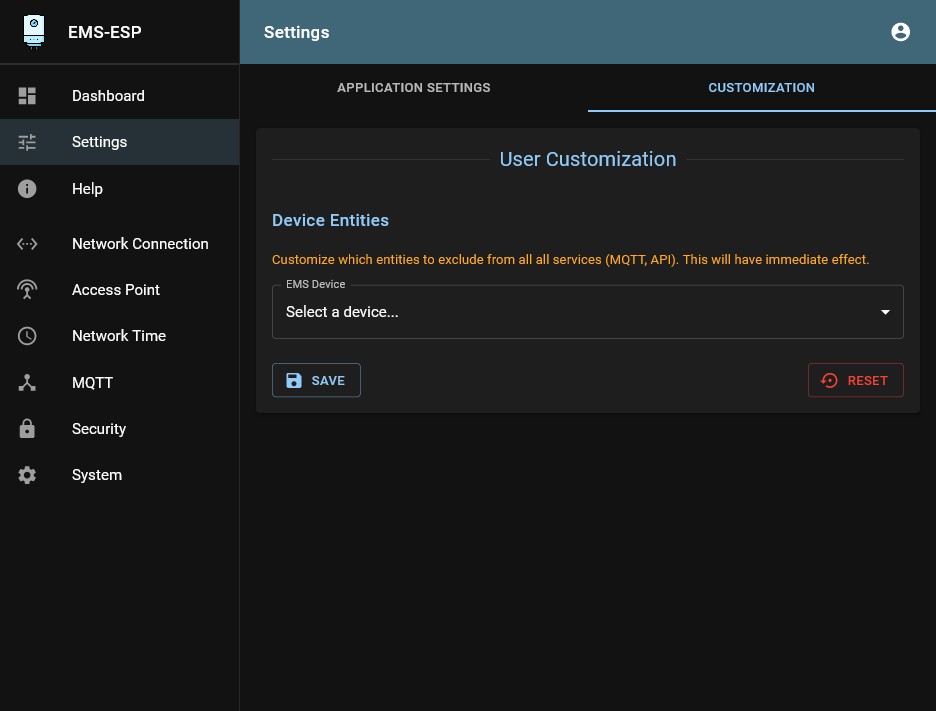
Customization
Firmware 3.4 introduced a new feature called ‘customization’. With this feauture you can turn on or off each entity for a EMS device, so that they will be included or excluded from MQTT and the API. See Customization feature. In firmware 3.5 language features were added as well.
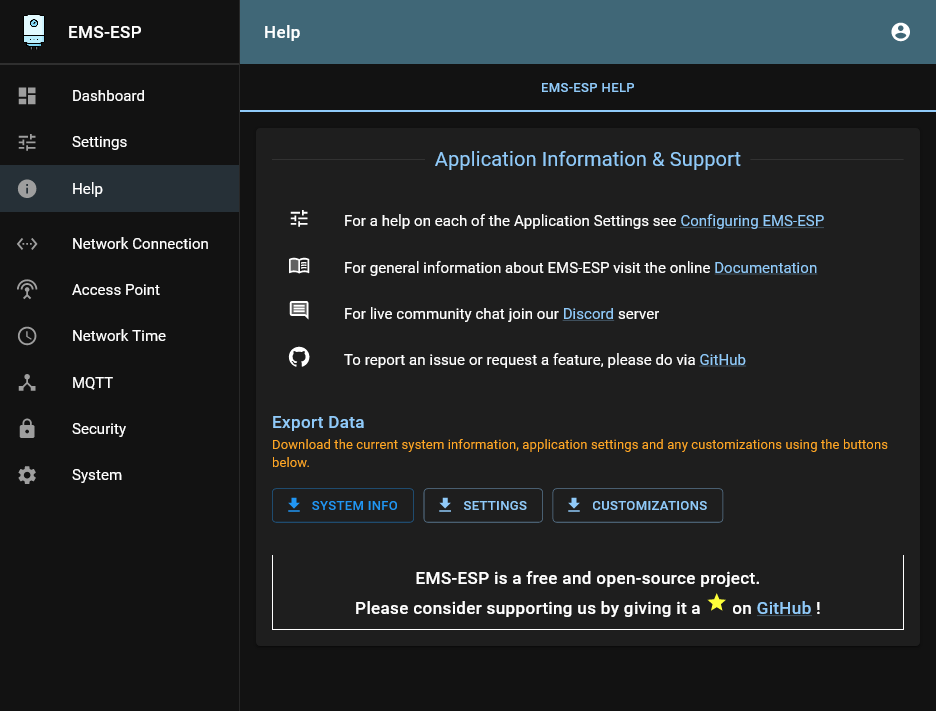
EMS-ESP Help
This page provides links to the help function.
Network Connection
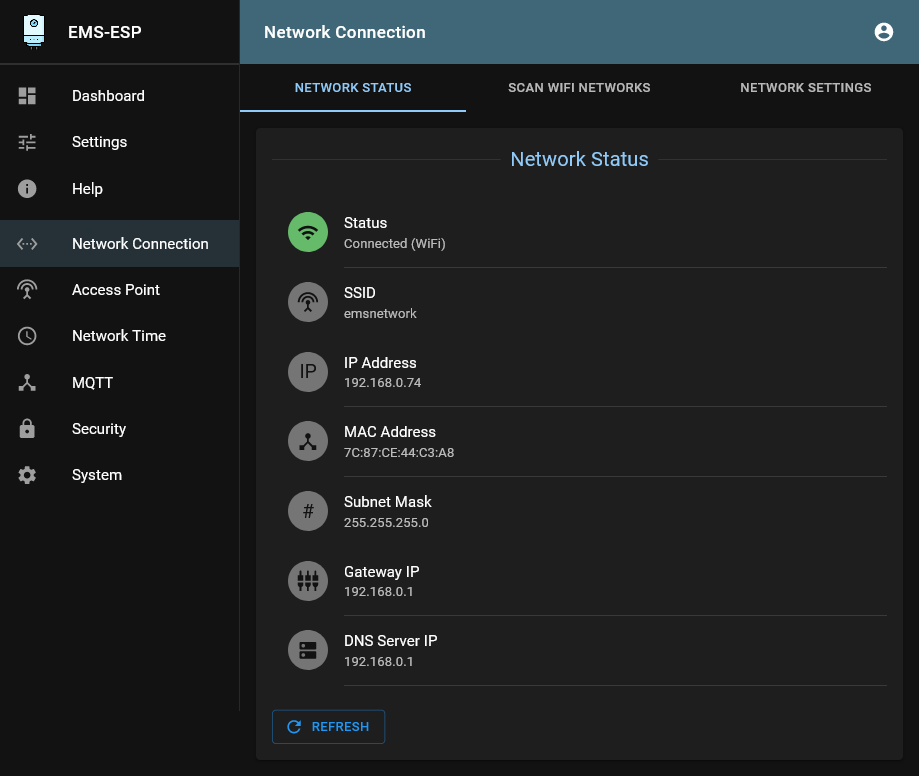
Network Status
The Network Status tab gives you all the network status and parameters.
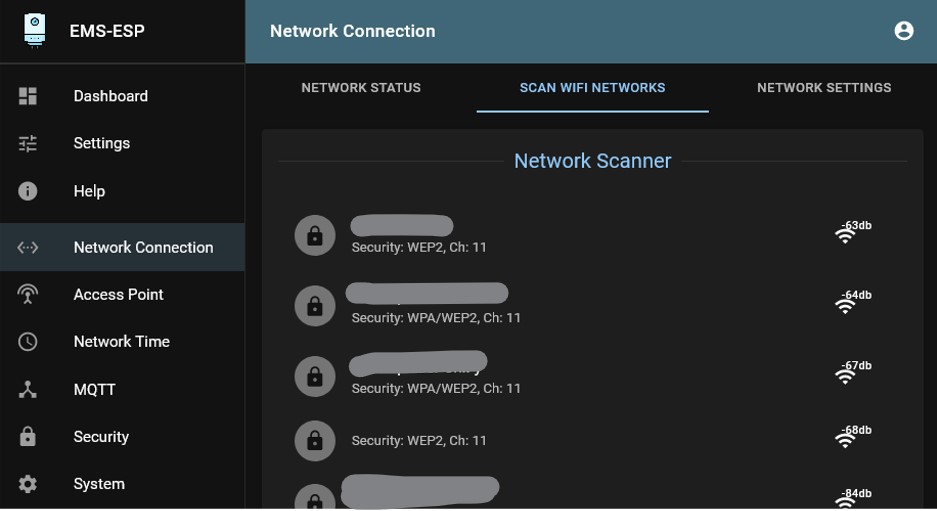
Scan WiFi Networks
Scan WiFi networks provides the option to scan and select a specific WiFi network.
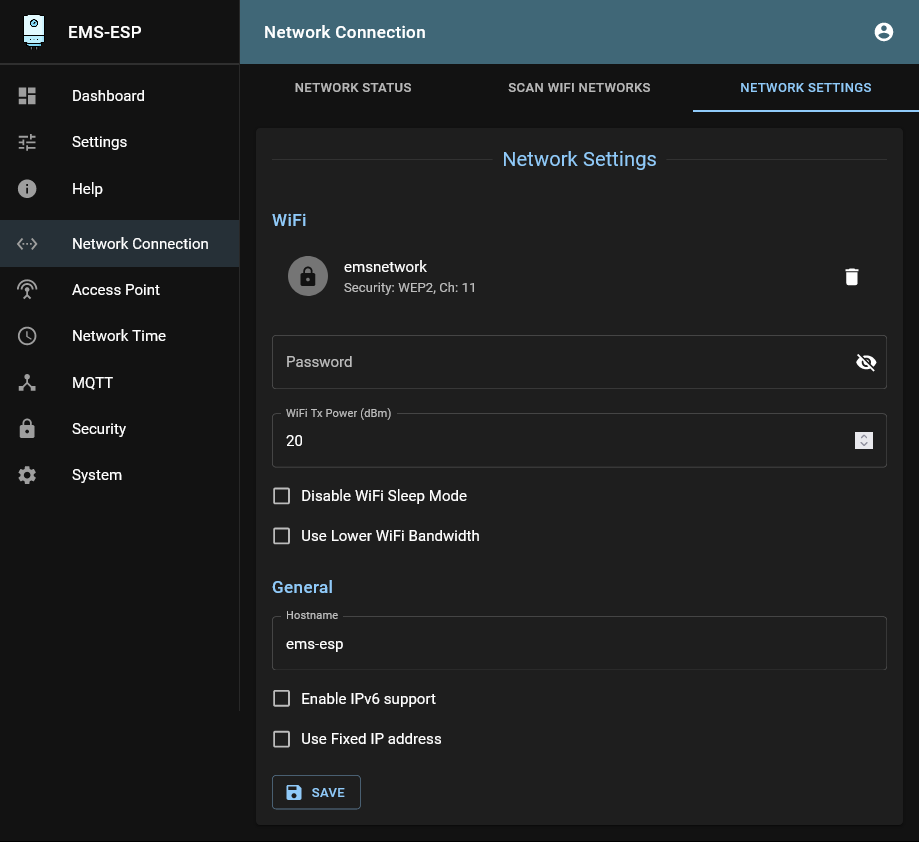
Network Settings
The WiFi Settings tab gives you the network teh Gateway is currently connected to. You can also set the Wi-Fi password, network Hostname and set a static IP address.
Access Point
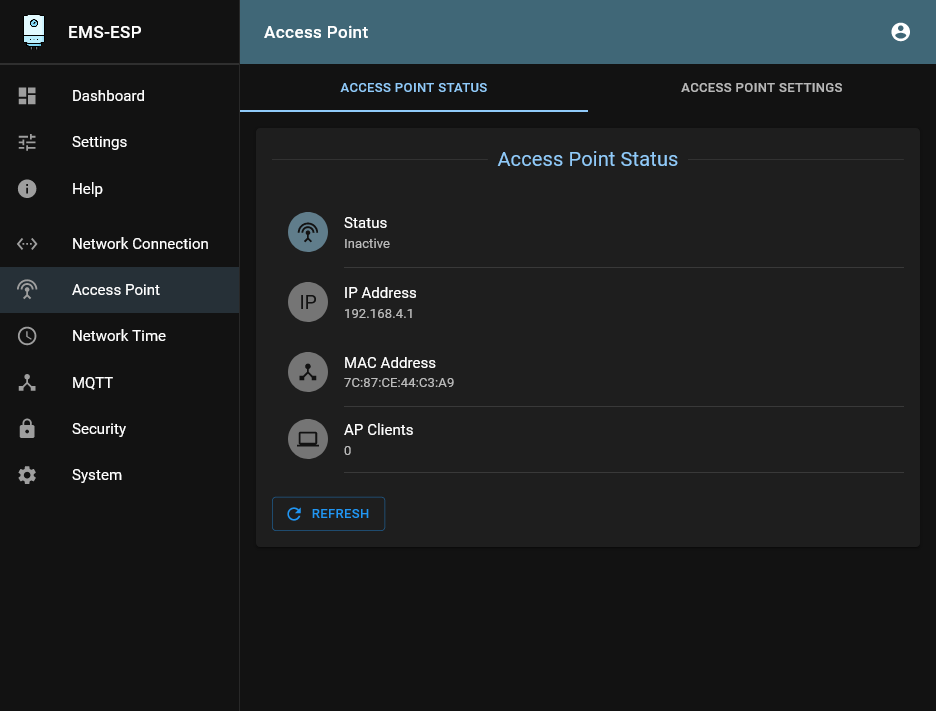
Access Point Status
The Access Point Status tab gives you the status of the internal access point of the Gateway.
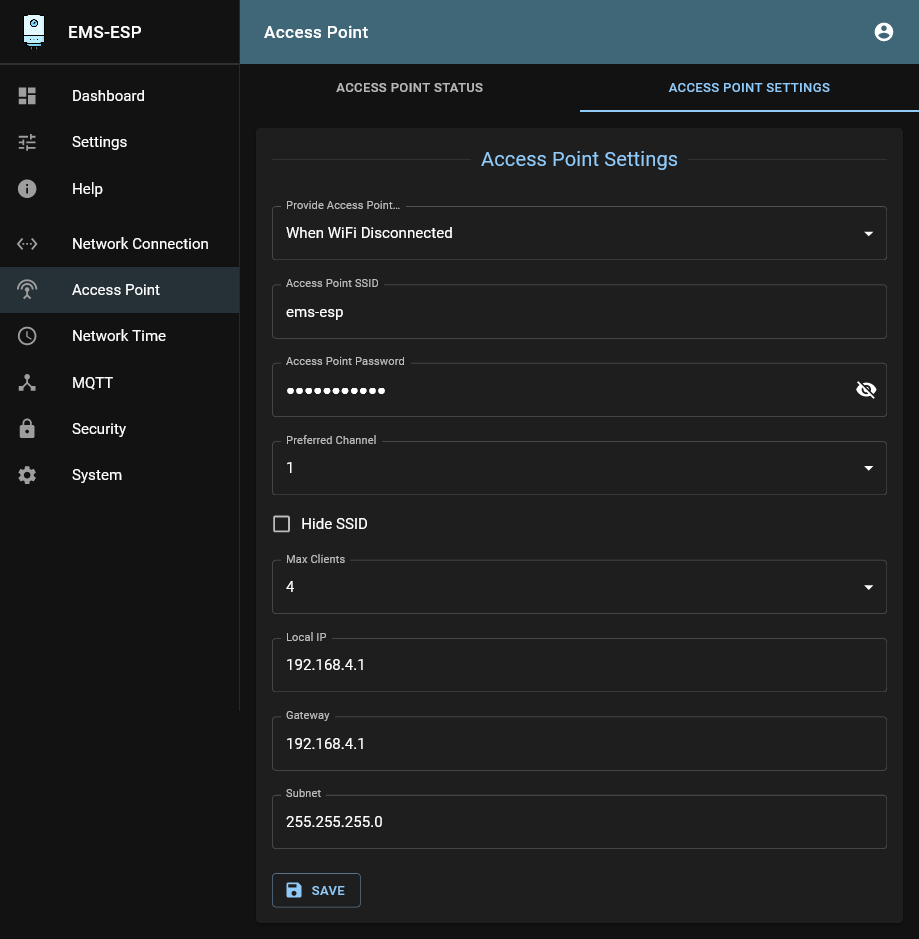
Access Point Settings
You can set the AP Wi-Fi name and password and other network settings.
Network Time
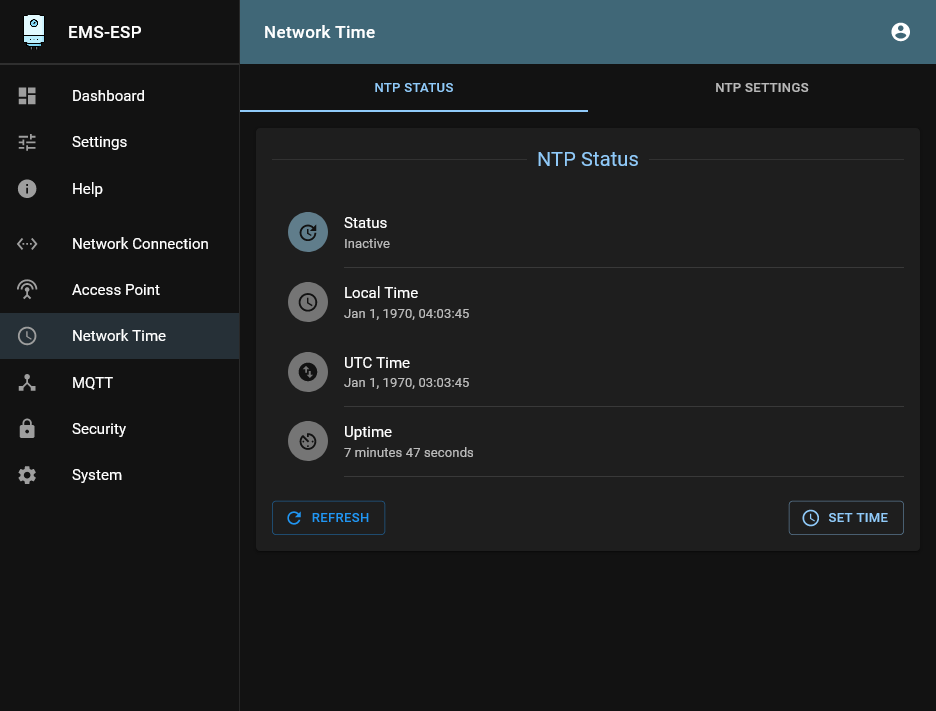
NTP Status
The NTP Status tab gives you information about the network time status.
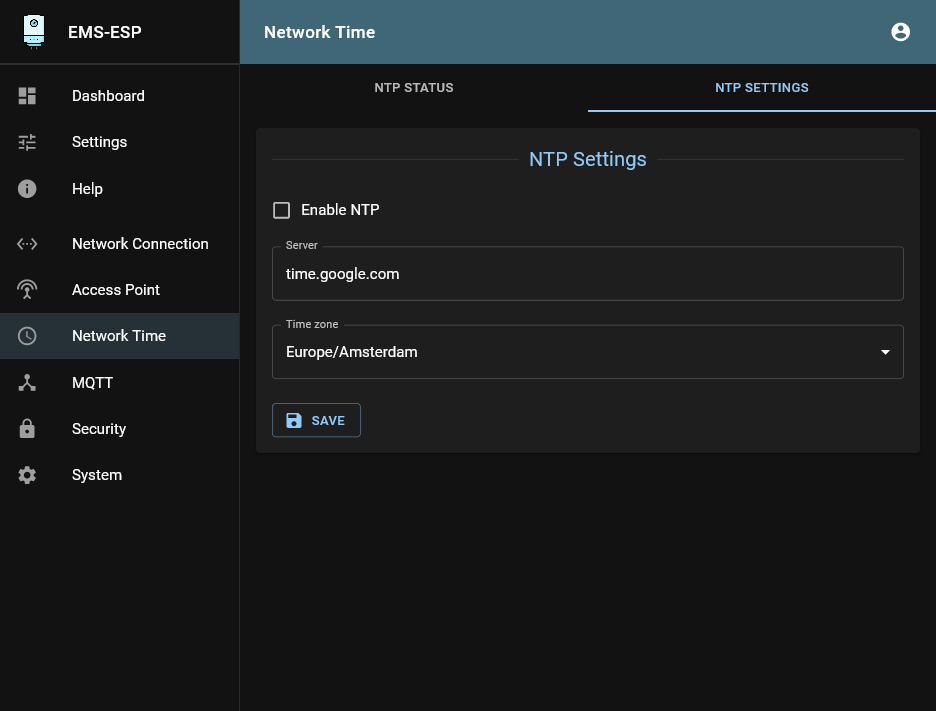
NTP Settings
MQTT
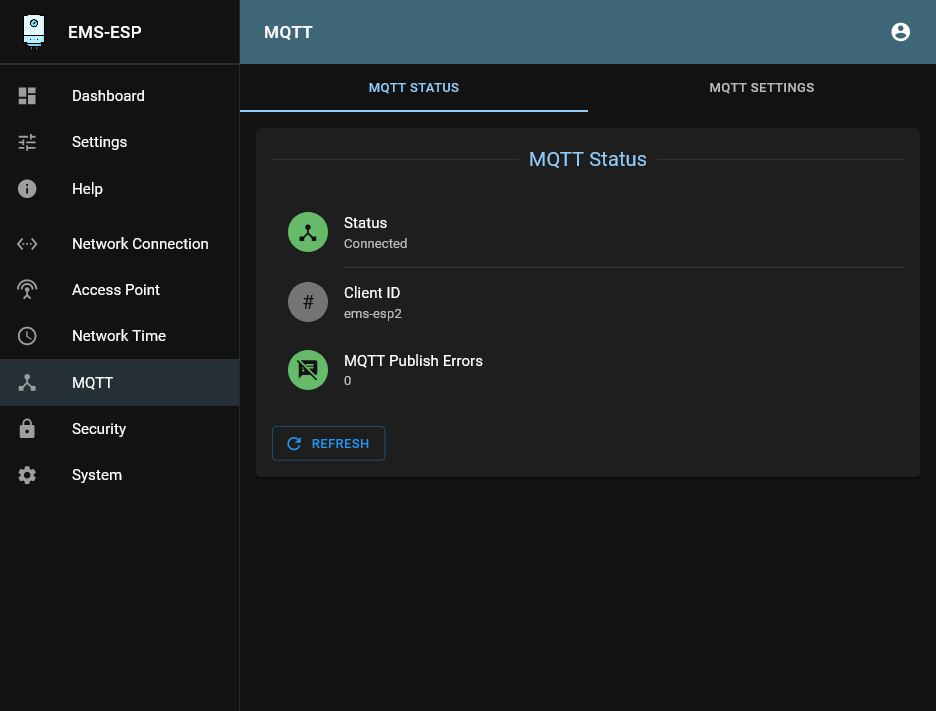
MQTT Status
The MQTT Status tab gives you information about the MQTT connection to the broker.
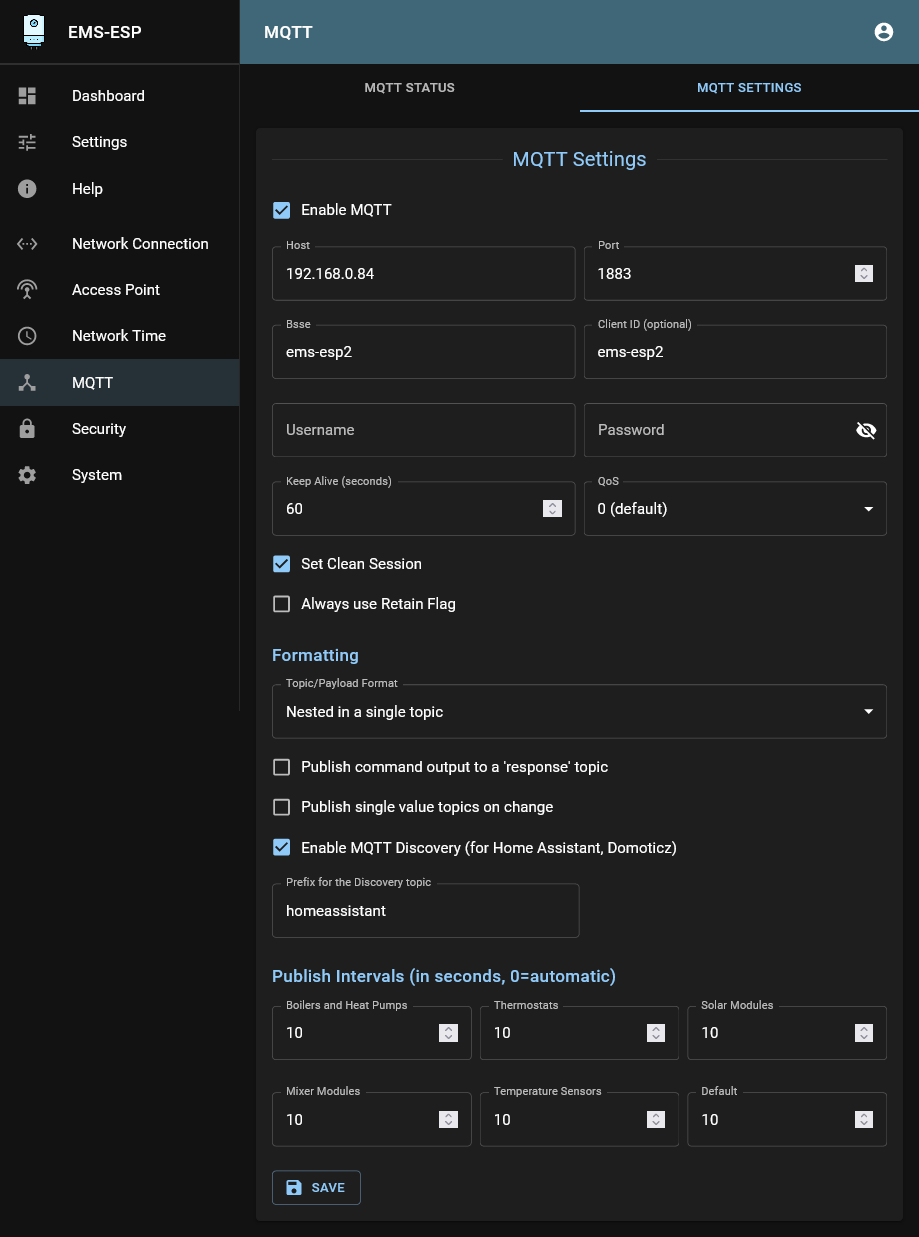
MQTT Settings
Here you can set a lot of MQTT related parameters.
MQTT Formatting
MQTT Discovery is supported by Home Assistant and recent Domoticz beta versions.
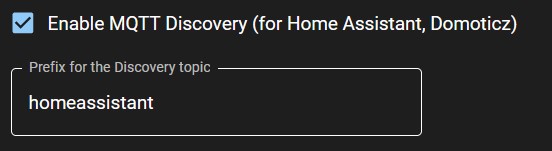
Turn on MQTT Discovery to have HA or Domoticz detect all entities automatically. For Domoticz and other systems you can change the topic prefix as well.
Publish Intervals
Here you van change the interval for which each entity group is published over MQTT.
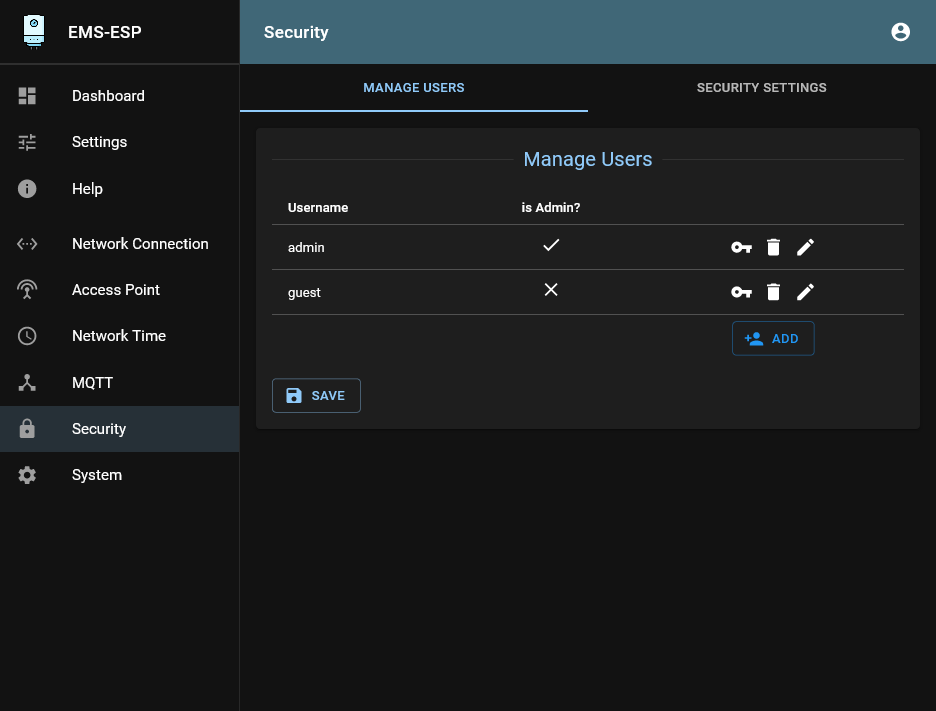
Security
Manage users
Add or remove users of EMS-ESP.
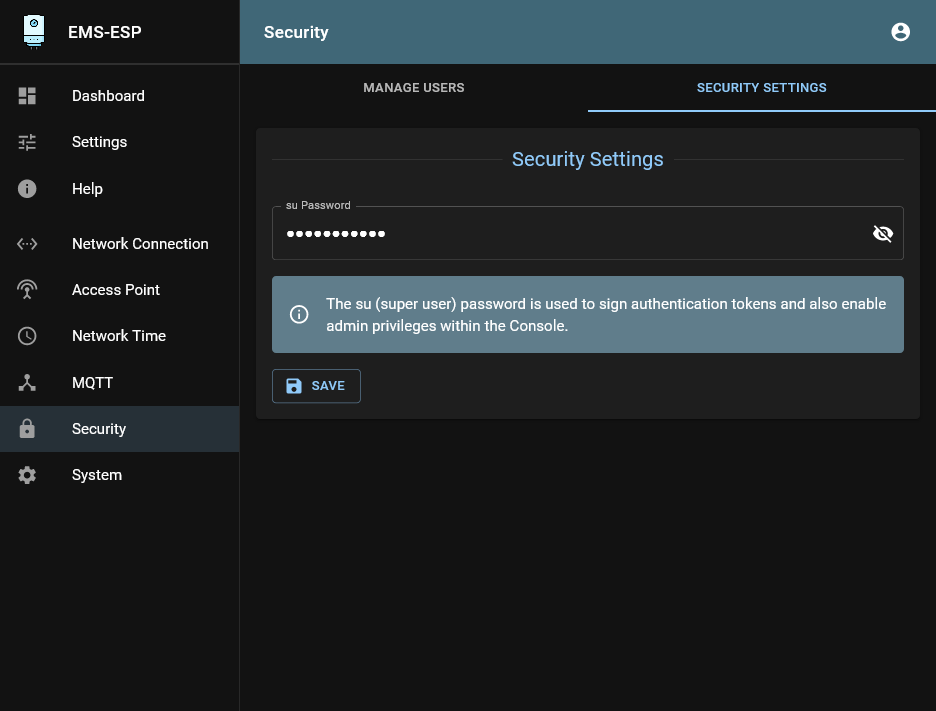
Security Settings
Here you can change the super user password. This password is used to sign authentication tokens and also enable admin privileges within the Console.
System
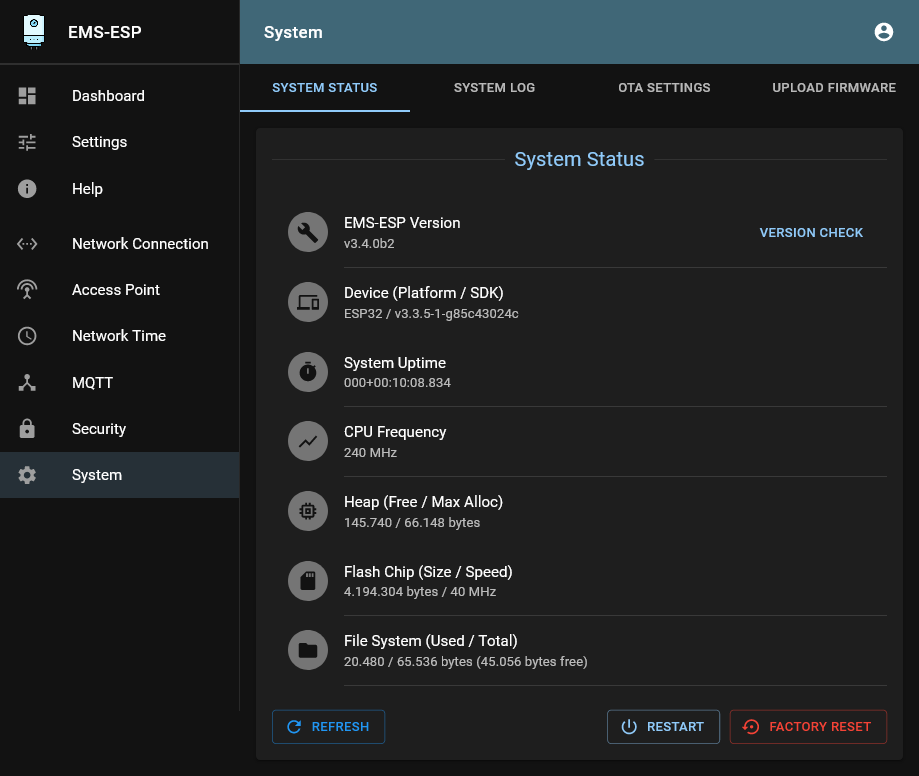
System Status
See the status of a lot of ESP parameters. You can also reboot the Gateway here or perform a factory reset.
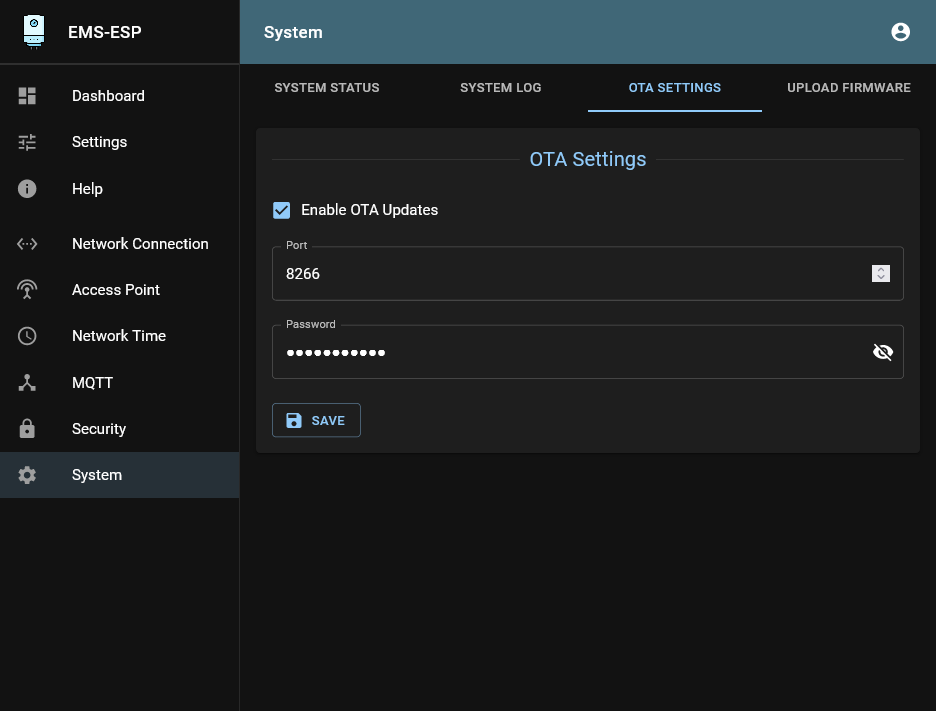
OTA Settings
Here you can set OTA (Over the Air) firmare upgrade parameters. With this function you can upload new firmware via WiFi directly from Platform IO to the ESP module.
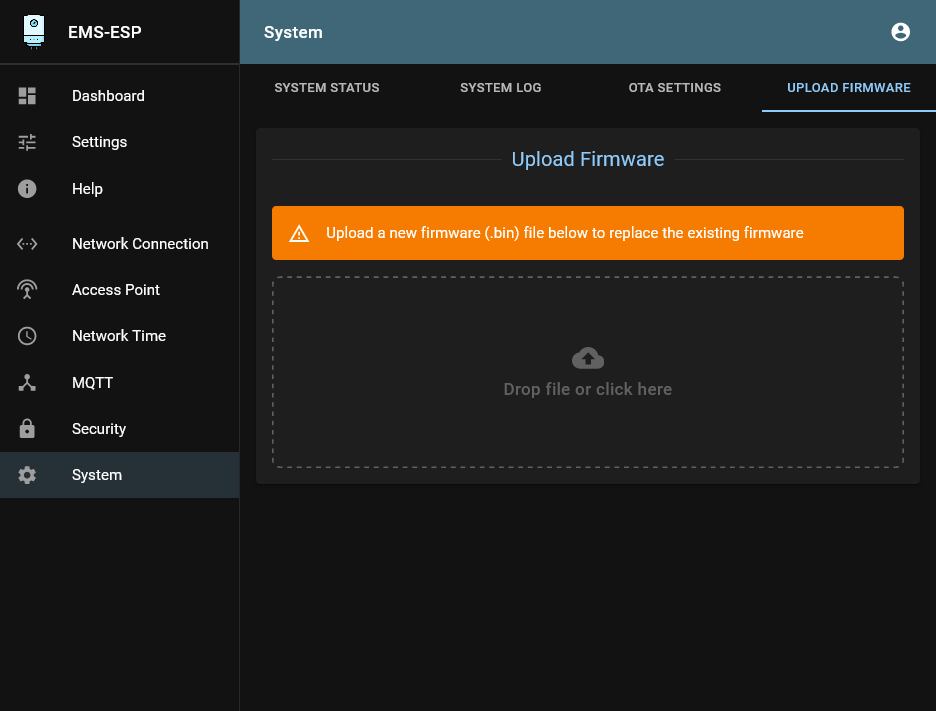
Update firmware
On this page you can update the firmware of the Gateway. First you can download the latest stable version and then upload the bin file or another bin file to the Gateway.
If your Gateway works fine and there are no significant new features, its not recommended to update the firmware just for the sake of updating. Some firmware versions are not stable and can give stability issues.
Also if you have an E32 gateway do not do firmware updates remotely, only when you are near the Gateway. In some cases the board profile may reset to the S32 and you’ll lose Ethernet until you login via WiFi and set it to S32.